What does a Make Me Roar pattern look like?
I understand if you have never bought one of my patterns before then you might be interested to know how I write and design the layout of my patterns. Crochet terms are the same pretty much from one pattern / designer to the next. But the way someone writes this information can differ greatly. It might be one of the things stopping you from buying from a new designer if you can’t see an example of their work first.
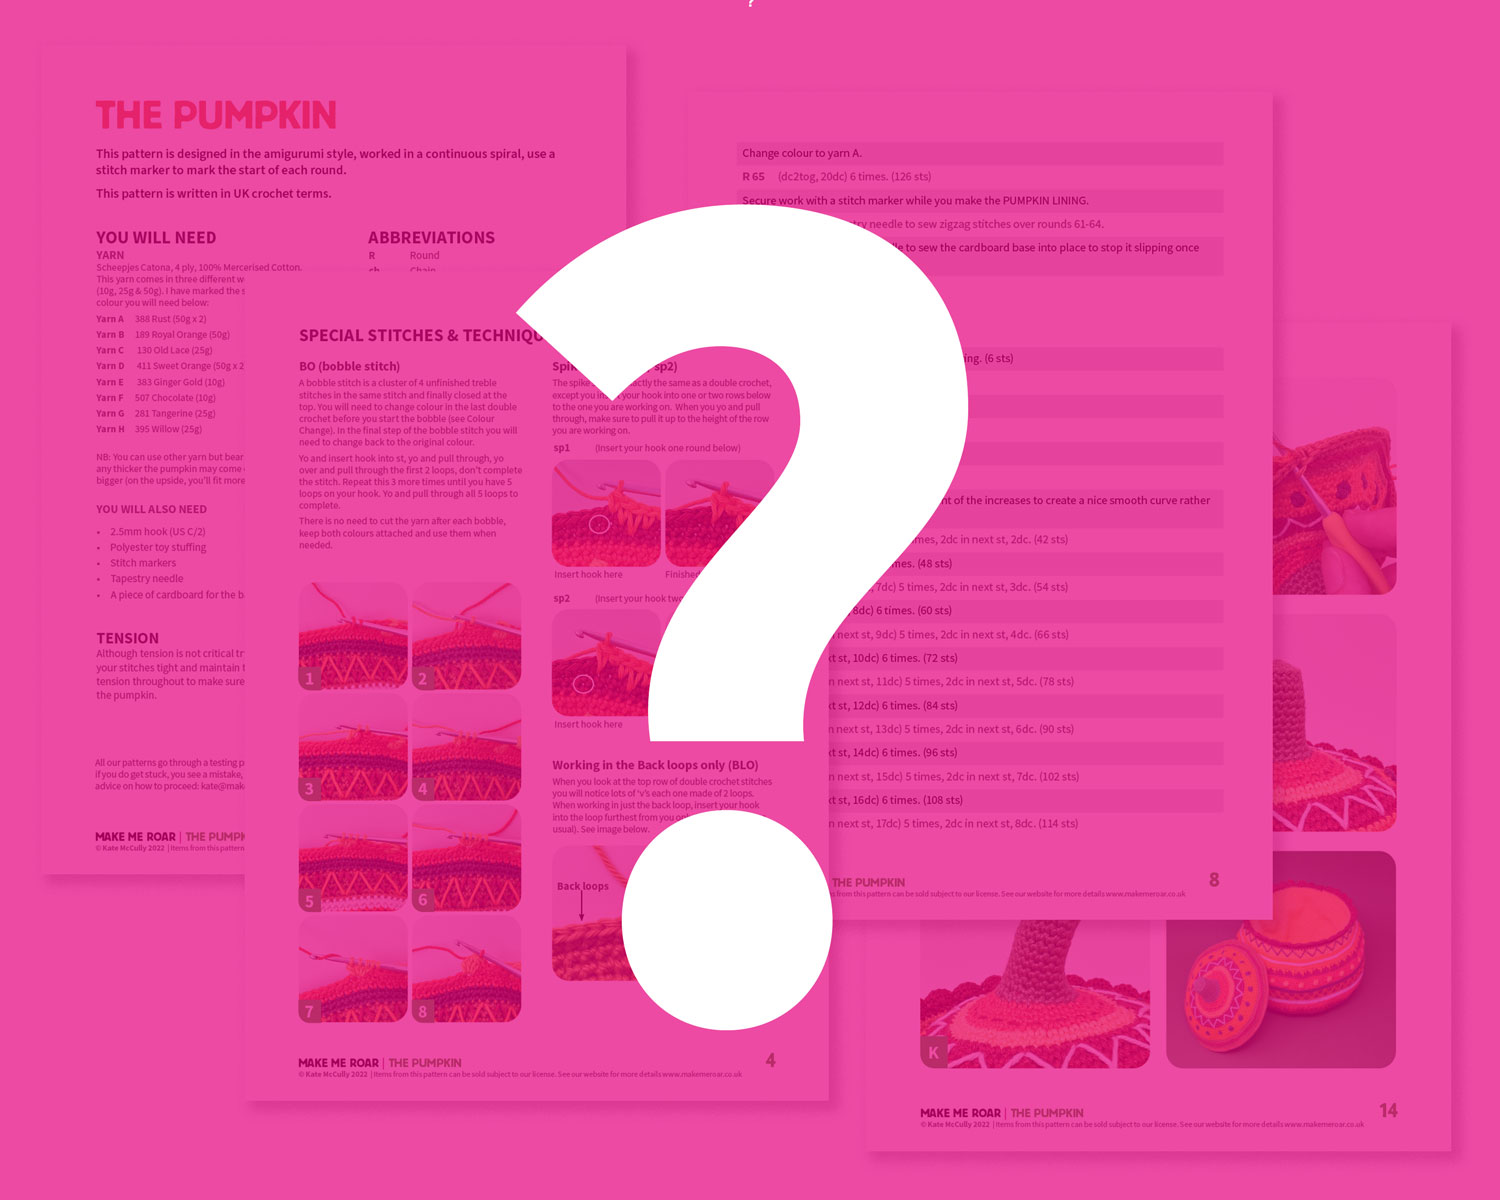
So I thought it would be a good idea to show you an example of my patterns. This will give you confidence on what to expect when you buy one. Here, I am using my Pumpkin pattern for the example.
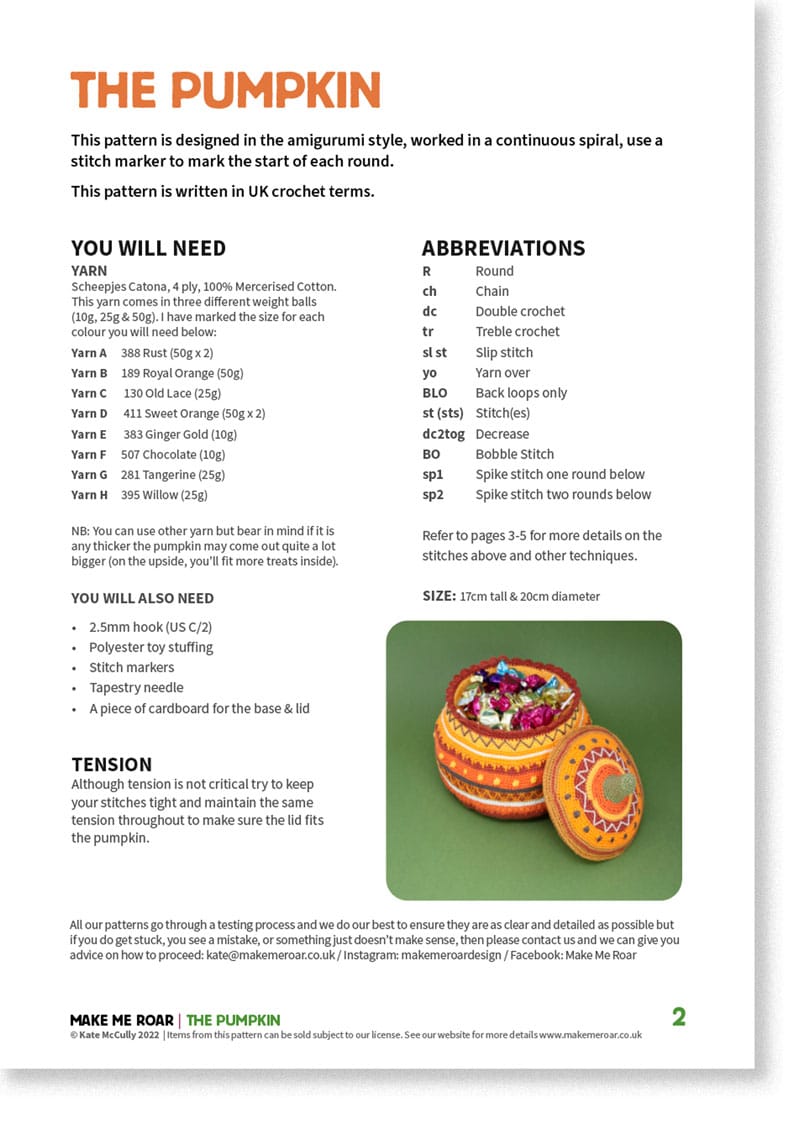
Information page
On the first page (after the cover page) is all the information you will need to complete the project, from all the yarn required to the abbreviations on all the stitches that are used in the pattern. It will also tell you what terms (UK or US) the pattern is written in. All my patterns come in both terms, you just have to download the one you want after purchase.
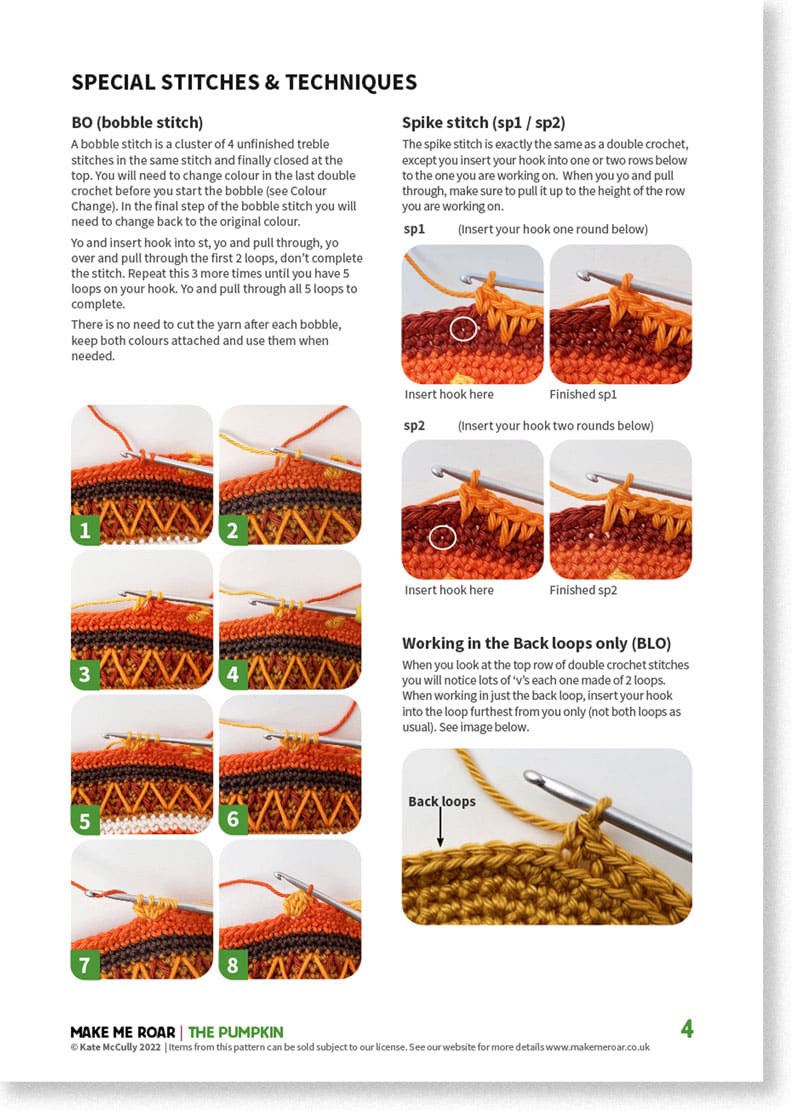
Special Stitches
On the next page you will find any details of non-standard stitches that are used in the pattern. If the pattern doesn’t have any non-standard stitches then this page might not be included.
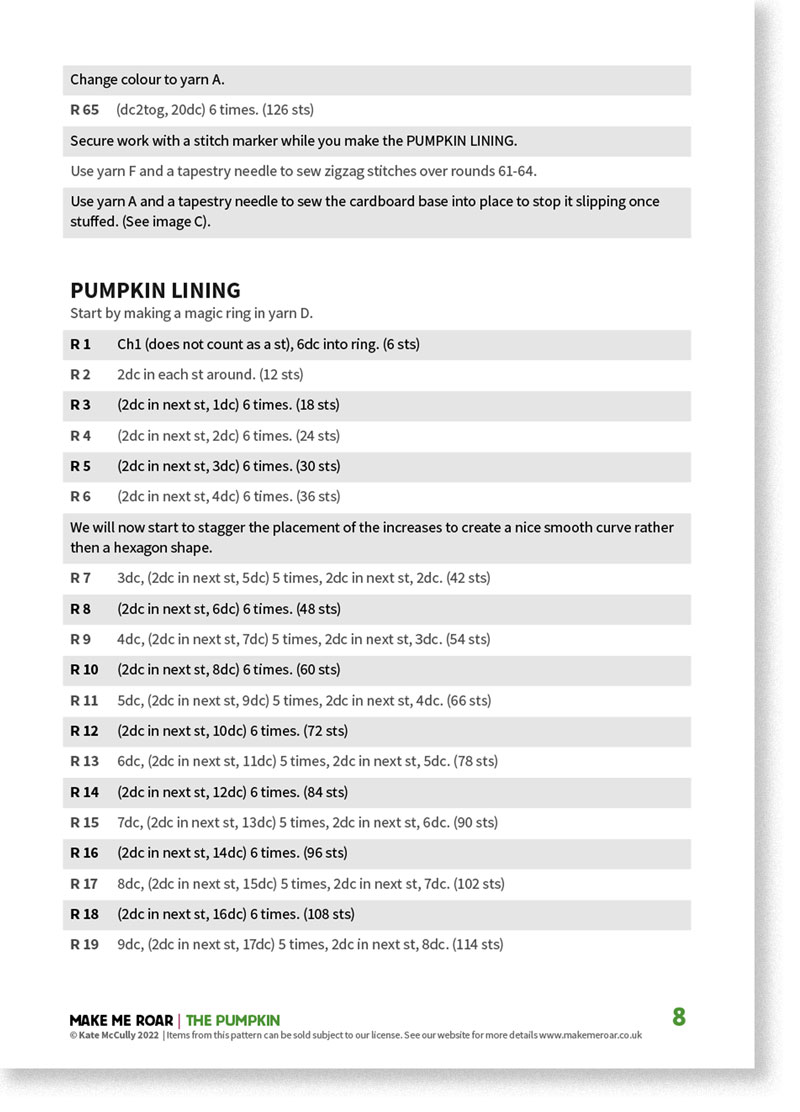
The Pattern
The next pages will be the pattern itself. Have a look through to get a feel of my pattern writing style.
Photographs
After the written pattern you will find all the step by step photographs. I have put them at the end so that if you wish to print the pattern you can choose whether to print the photos or not (saving you ink)! All the photos are referred to in the written pattern.

I hope this helps you get a feel of my pattern writing style. You will now know what to expect when you purchase a Make Me Roar pattern 🙂