PART 2: How to turn a sketch into a 3D amigurumi
Have you ever wanted to design your own amigurumi patterns? Or maybe you’ve designed one but want to know how to make it into a professional looking pattern? Do you want to find out about where to sell your pattern? And what about getting your pattern seen on social media? In this brand new blog series I’ll be sharing with you everything I do to create a finished professional pattern, from initial idea to completed published pattern. This series will include:
(these will become clickable links as I write the series).
Part 1: How to decide what to make and getting your ideas onto paper
Part 2: Turning your sketch into a 3D crocheted form
Part 3: How to take professional product photos and how to edit them
Part 4: How to write up your pattern to make it look professional
Part 5: How to get your pattern tested
Part 6: Finalising your pattern and uploading it for sale
Part 7: Getting your pattern seen online
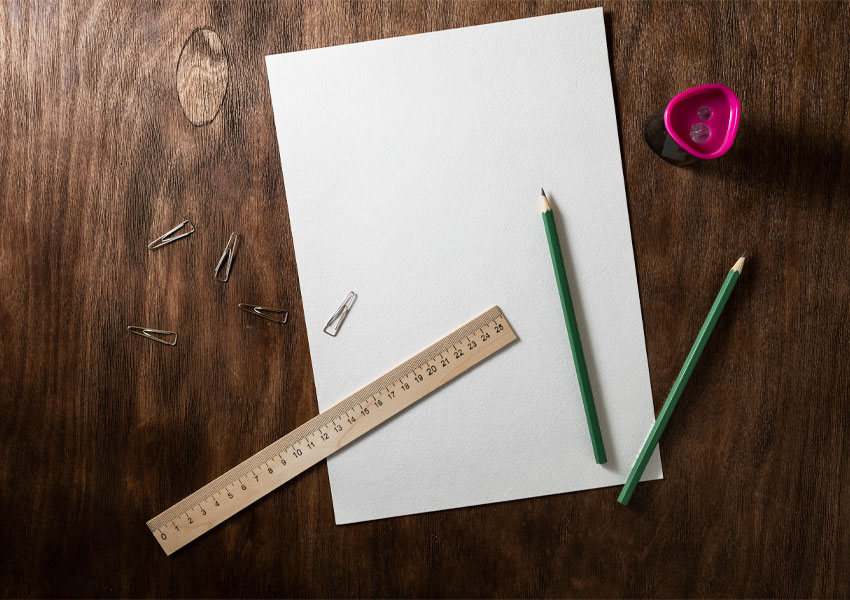
What you will need
You have your idea and are ready to start crocheting your first amigurumi design. I’m going to show you how I turn a sketch into a 3D amigurumi. It might not be how everybody does it, and my method has changed over the years after gaining more experience, but hopefully these tips and tricks should help you. Here are the things you will need of for this stage:
- Large piece of paper (A4 should be big enough unless you are making a big amigurumi).
- Pencil & eraser
- Tape Measure
- Calculator
- Another amigurumi made in the same yarn you are using OR a swatch in the yarn you are using.
- Your yarn, hook, etc.
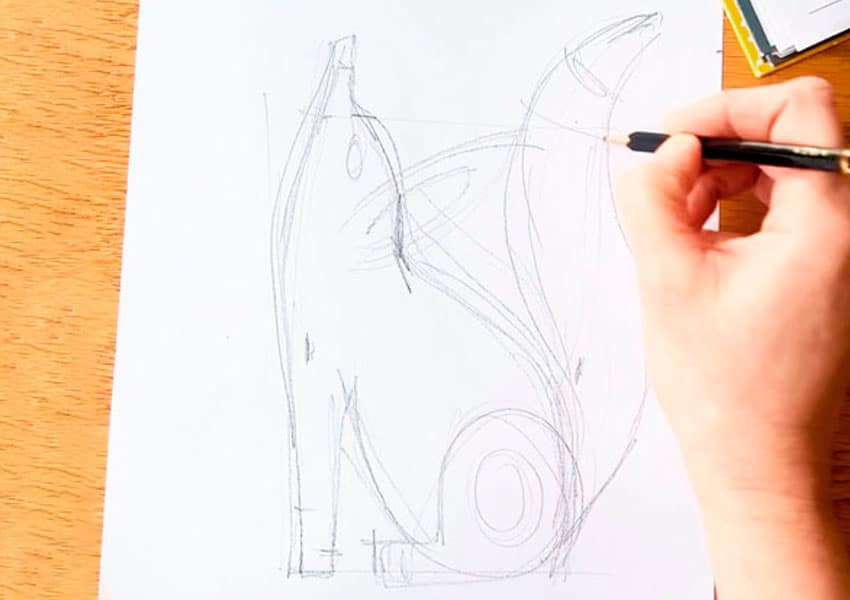
Make a 1:1 sketch
Before we start crocheting we need to plan a little, this is where your tape measure and calculator comes in!
The very first thing I do is draw the design at 1:1 scale, the actual size I want the amigurumi to be. The thickness of the yarn you have chosen may dictate the scale a bit: see PART 1 for more information on this. Think about proportions – how big is the head compared to the ears for example? Also, make sure you’ve thought about where you will start – the top or bottom?
I will then mark on the sketch where I want the colour changes to be and any details.
Things to think about when making your sketch:
- Proportions of all the elements
- What colours are going where
- How you will attach all the elements
- Which part will you crochet first
- How will you attach all the other elements to the main body (sewing or crochet)
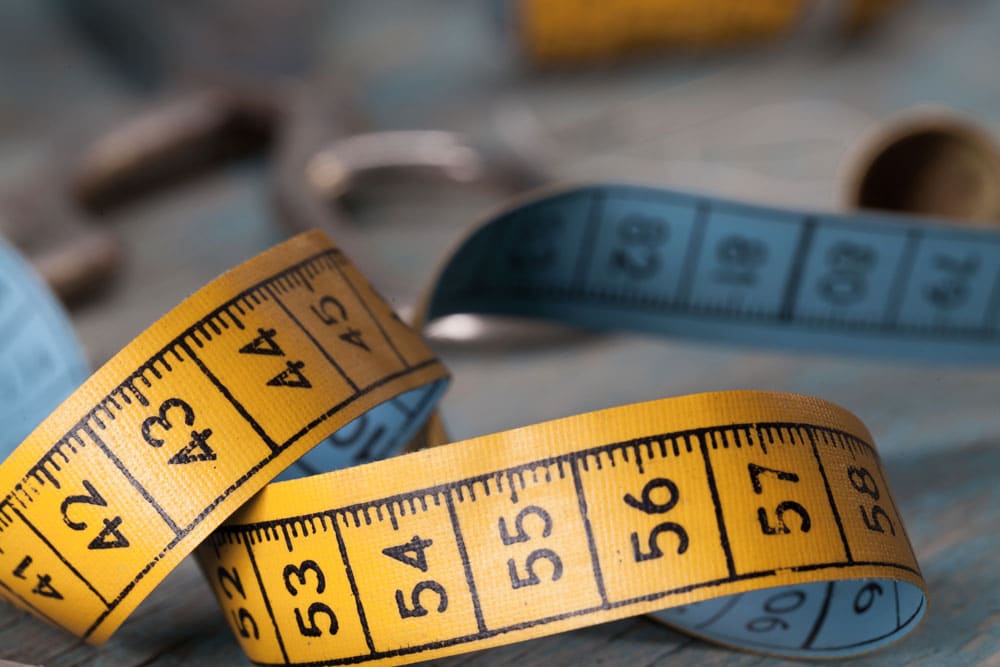
Measuring
Next, it’s time to get measuring. You’ll need an amigurumi or swatch that is made in the same yarn that you are using. Next, measure the width of one stitch and the height of one row / stitch.
Now, measure the overall height of your amigurumi and divide that by the row height. For example, the amigurumi on my sketch is 200mm tall. My row height is 4mm tall. 200 divided by 4 is 50. This means I will need 50 rounds in total to get the height I need for the design. I don’t stop there though, I will measure the legs, ears, tail, head etc too.
It is the same principle above to work out how wide elements need to be, but you will need to double your figure (to allow for the front and the back). For example, measure the width of the leg and divide that by the width of one stitch and then multiply that by 2. This figure will give you the number of stitches you will need in the round at that particular point.
You can go into more detail by marking where you want your increases to be. For example, if I want to leg to widen at the top, I measure how many stitches I need to start with, then how many I want to end with. Next I work out how many stitches I need to increase by over that height of the leg and plan the increases evenly over the entire height of the leg.
If you take time to plan ahead hopefully it will avoid too much frogging. I didn’t always design like this, at the start I would just go with the flow and hope for the best! Experience is also a key factor in getting it right pretty much first time. Once you have crocheted certain shapes it gets easier to visualise what you need to do for future projects.
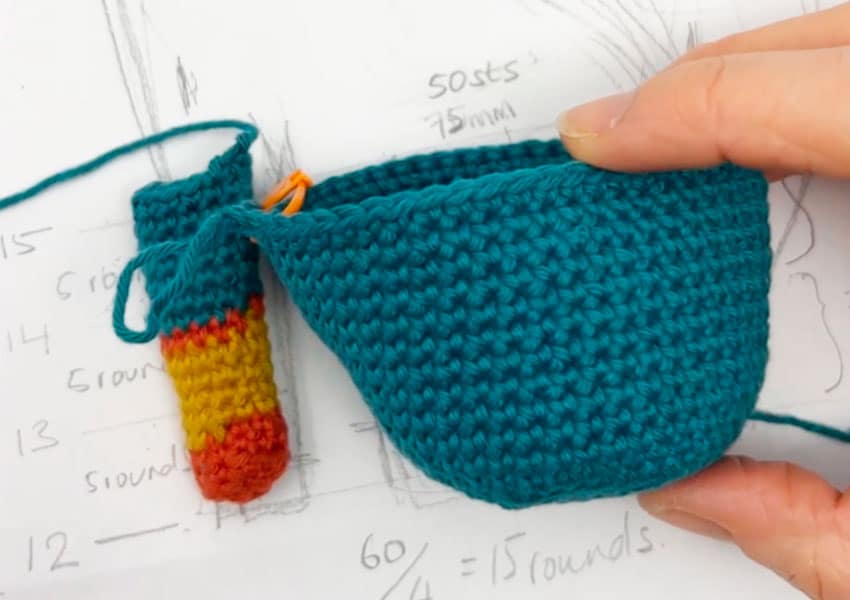
Start crocheting
With all this information you have gained from the sketch you can now start crocheting. The numbers give you a starting point, but sometimes you’ll need to use a bit of intuition. Every so often I like to lay the work on top of the sketch to see if it is looking correct.
One of the biggest frustrations of designing crochet patterns is not knowing if it’s working or not until you have done quite a lot of work! It might look like it’s going well, but a few more rows later that shape can look completely off, and then there’s a whole lot of frogging to be done. But that is the nature of this craft. But it is not completely wasted time. It’s an over used saying, but you do learn from your mistakes! As you gain more experience you will find it easier to know how to create the shapes you envision, purely because you’ve done it before.
Things to remember when crocheting:
- Write down the pattern after every row as clearly as possible. You might think your shorthand will be easy to read a couple of weeks later, but trust me when I say sometimes it can be complete gibberish!
- Take step by step photographs as you go. This is hard to remember to do when you are in the flow of designing, and sometimes I forget. I get annoyed with myself if I have to make another one just to take the photos! Although sometimes I choose not to if the shape is completely different to what I’ve designed before and not sure if it will work. I will talk more on photography in PART 3.
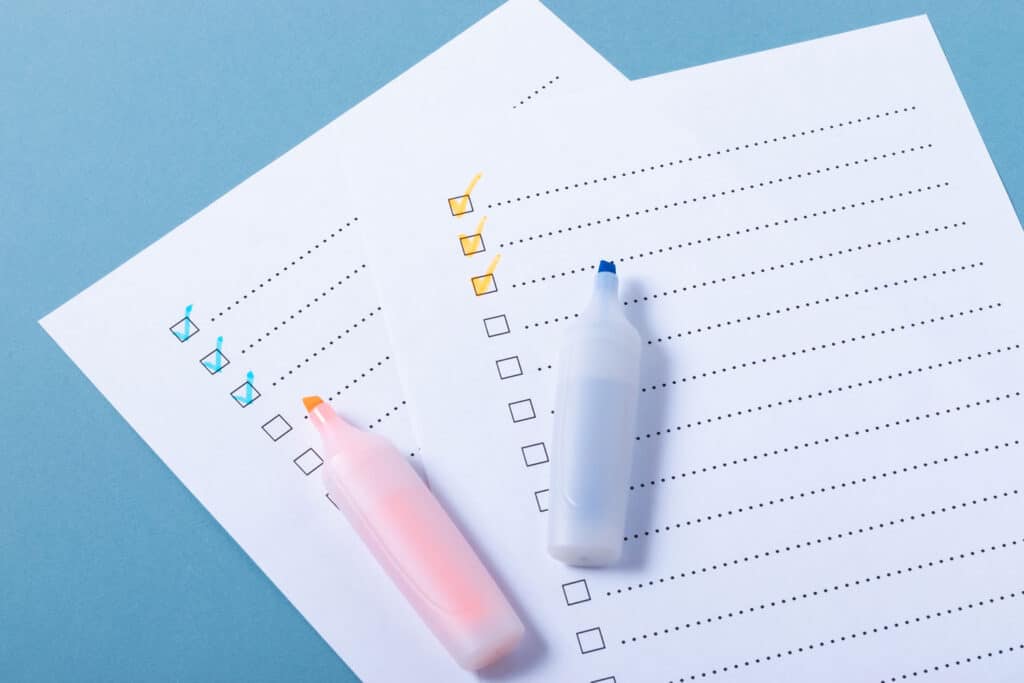
Checklist
Here’s a handy checklist of everything I have discussed above while coming up with your design:
- Make a detailed 1:1 sketch.
- Measure different elements to work out how many rows and stitches you will need.
- Remember to take photos!
- Remember to clearly write down the pattern after every row.
Come back soon for Part 3: How to take professional product photos and how to edit them.

Further reading
Here are some articles that may also be of interest:
- Amigurumi design process – zombies.
- All about yarn – what is best for amigurumi?
- Amigurumi tips and tricks
Also, make sure to visit my Instagram page where I have videos showing the design process too!