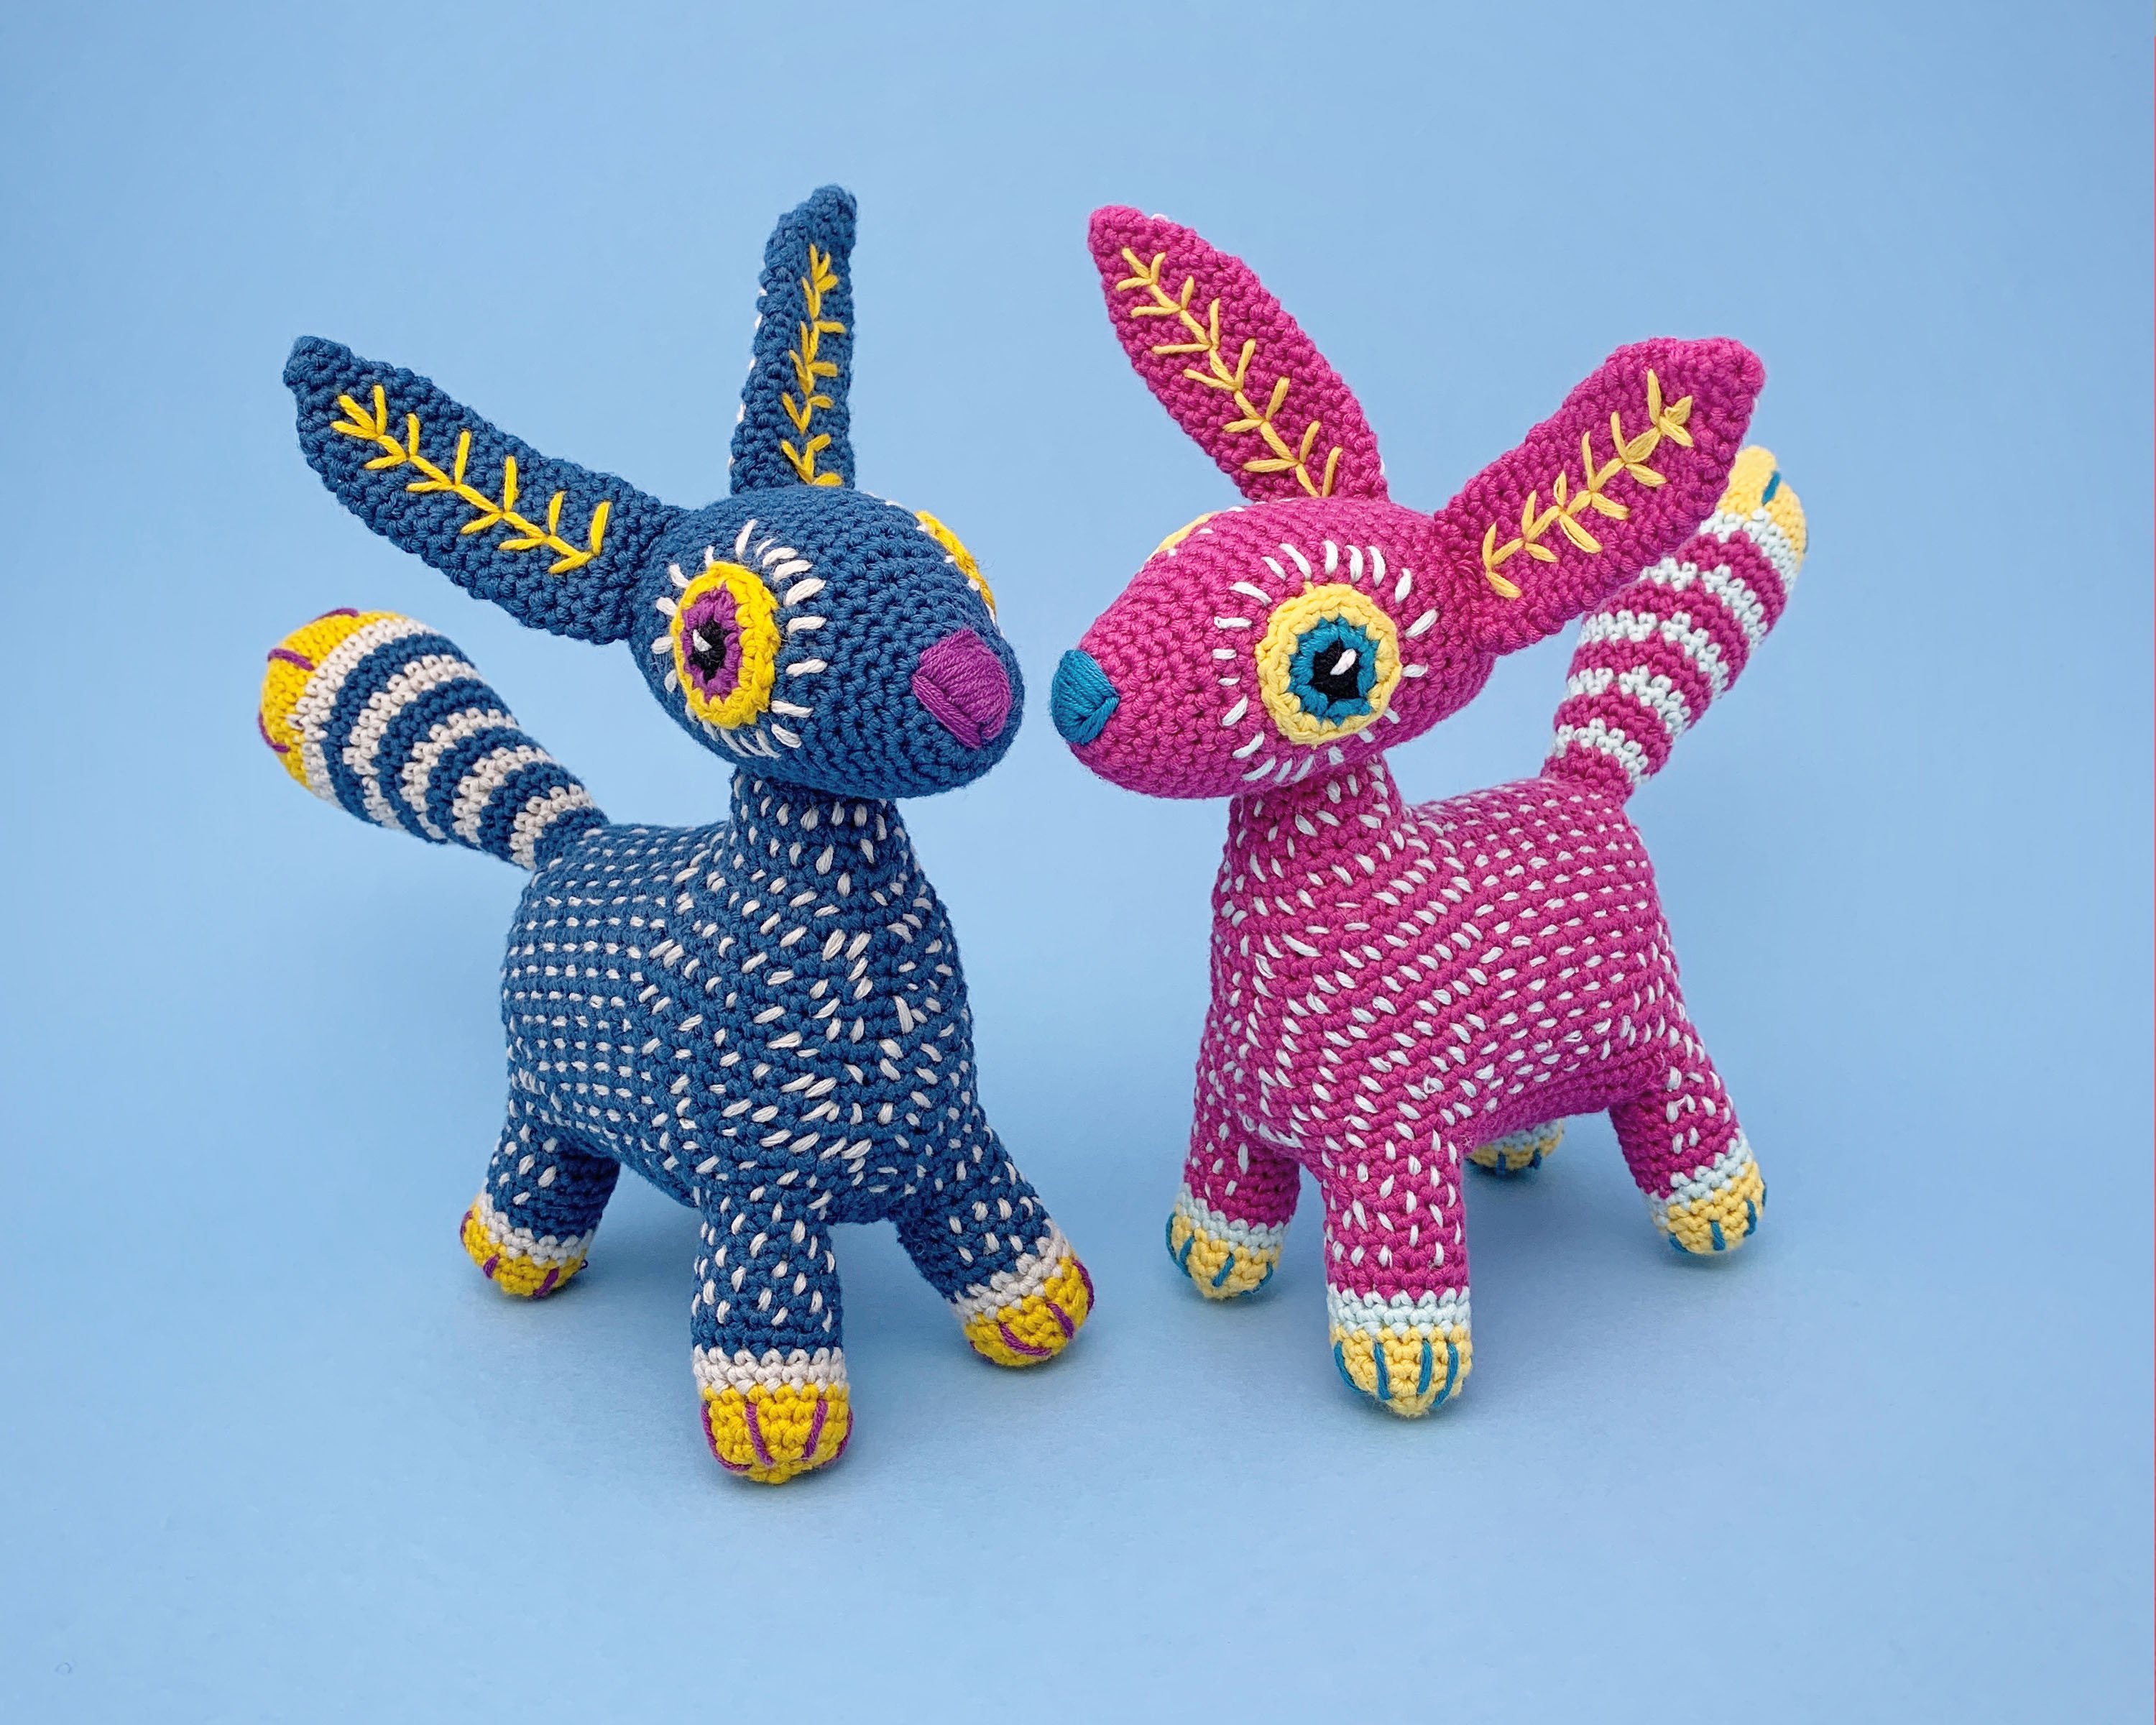
Learn to design, make and publish an amigurumi pattern
Have you ever wanted to design your own amigurumi patterns? Or maybe you’ve designed one but want to know how to make it into a professional looking pattern? Do you want to find out about where to sell your pattern? And what about getting your pattern seen on social media? In this brand new blog series I’ll be sharing with you everything I do to create a finished professional pattern, from initial idea to completed published pattern. This series will include:
(these will become clickable links as I write the series).
Part 1: How to decide what to make and getting your ideas onto paper
Part 2: Turning your sketch into a 3D crocheted form
Part 3: How to take professional product photos and how to edit them
Part 4: How to write up your pattern to make it look professional
Part 5: How to get your pattern tested
Part 6: Finalising your pattern and uploading it for sale
Part 7: Getting your pattern seen online
PART 1: How to come up with an idea
If you are here, you’ve probably been making amigurumi for a while now and would like to have a go at designing your own amigurumi pattern. You might already have an idea on what to make, if you don’t, here’s a few things to think about when trying to come up with an idea:
- Make sure to always have a sketchbook to hand. I always carry around a small notebook and pencil in my bag because ideas come to me at random moments. I have a whole sketchbook of ideas to come to when I’m looking to start a new project.
- Think about patterns from other designers you’ve made before. What did you like about them and what didn’t you like? When I started designing amigurumi I hated all the sewing at the end, so I made sure my patterns had as little sewing as possible.
- Who will your customer be? Are you looking to create a pattern that is suitable for beginners? Do you want to create something more unique and niche than what is currently available?
- Who is the end user (ie who is your customer making the amigurumi for?)
- What yarn will you use? Sometimes looking at (and squishing) yarn might spark an idea.
- Do an image search. Pinterest is a great way to research ideas. You don’t have to just search for other amigurumi, other good searches terms might be ‘cute animals’, ‘sea creatures’ or ‘mythical beasts’. You could also search for ‘colour palettes’, ‘animal illustrations’ or ‘patterns’. Inspiration can come from anywhere.
Draw, draw, draw
You’ve done some research, or you already had an idea in mind, now it’s time to put pen to paper. It doesn’t even matter if you think you can’t draw. Just grab a pice of paper and start sketching. Things to think about when you are sketching your idea down:
- How big will your amigurumi be? This will also depend on what yarn you will use. Usually, the thinner the yarn the smaller the amigurumi.
- How will you construct each part? Will you start from the head down? Have you got simple shapes or are some more complex? Do you need to simplify the more complex parts?
- How many colours will you use and where will the colour changes be?
- How much sewing is there – can some areas be crocheted on rather than sewing?
- If you are making a real life animal how realistic / cartoony do you want it to be? Make sure to have visual references of the animal when sketching.
Choosing yarn
You probably have a yarn already in mind, maybe it was your starting point. If not here are a fews things to consider when choosing yarn:
- What weight yarn will you use? If you want a large amigurumi, go for a thick yarn like chunky, or super chunky. For a smaller amigurumi, double knit might work.
- Think about the fibre. The two go-to choices for amigurumi are usually acrylic or cotton. What do you prefer working with? Also, think about the end user, is the pattern for a baby toy for example.
- Availability of yarn. You may want to use a hand dyed local yarn, but will everybody who buys your pattern be able to purchase this? You need to think internationally. Even if you offer alternatives, customers generally want to make what they see and may get frustrated if they can’t get the yarn.
- Colour palette. Are you using lots of bright colours or a muted colour palette? Some yarns comes in a huge range of colours, but some only come in a select few.
How do you find inspiration?
I asked my fellow designers how they comes up with ideas for new patterns / projects:
- “Books! I absolutely love reading and am always so inspired by the fantasy books I read. The descriptions are vivid and life like that it’s hard not to imagine an amigurumi coming to life.” Danielle from Prismatic Fibre and Art
- “I get inspiration from looking at cuddly toys, sometimes the ones my son has, I love seeing how shapes come together to make a cute but squishy form. Like most ami makers and crocheters alike I just love yarn! The textures and the colours. I do like to look at others amigurumi especially very complex pieces and try to think how to make the simpler and more accessible to those with a lower skill level. My challenge is to create no sew amigurumi as I personally hate sewing pieces together with yarn and a needle.” Claire from Life Crafter Love
- “I find inspiration in various places. Often it’s a yarn color that sparks an idea, my children or something I see in nature pile when out and about. Inspiration can be found all around you.” Ashely from The Loopy Lamb
- “I design little shelf sitter characters. I get my inspiration from vintage greeting cards.” Beth from The WhimZ B
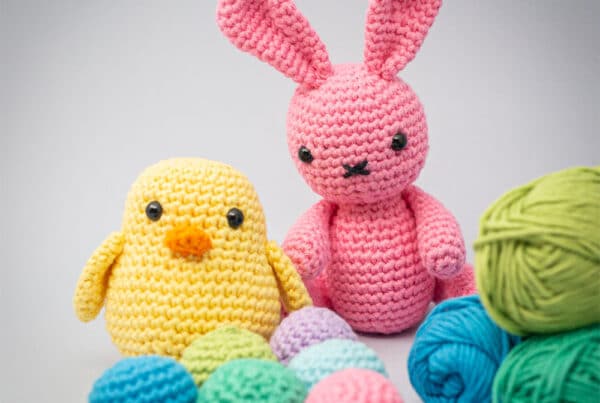
- “I really get my inspiration from everywhere. My newest pattern is inspired by the chocolate Easter eggs and the chocolate Easter bunnies. But also seeing a clown or other interesting person or figure can lead to a crochet pattern. Or how about a milkshake and a bowl of popcorn? Inspiration and ideas are endless.” Claudia from CB’s Creations
Checklist
Here’s a handy checklist of everything I have discussed above while coming up with your design:
- Who is your customer (who will purchase and make the pattern)?
- Who is the end user (who is your customer making it for)?
- What size will your amigurumi be?
- What yarn will you use?
- What colours will you use?
Come back soon for Part 2: Turning your sketch into a 3D amigurumi.
Further reading
Here are some articles that may also be of interest: