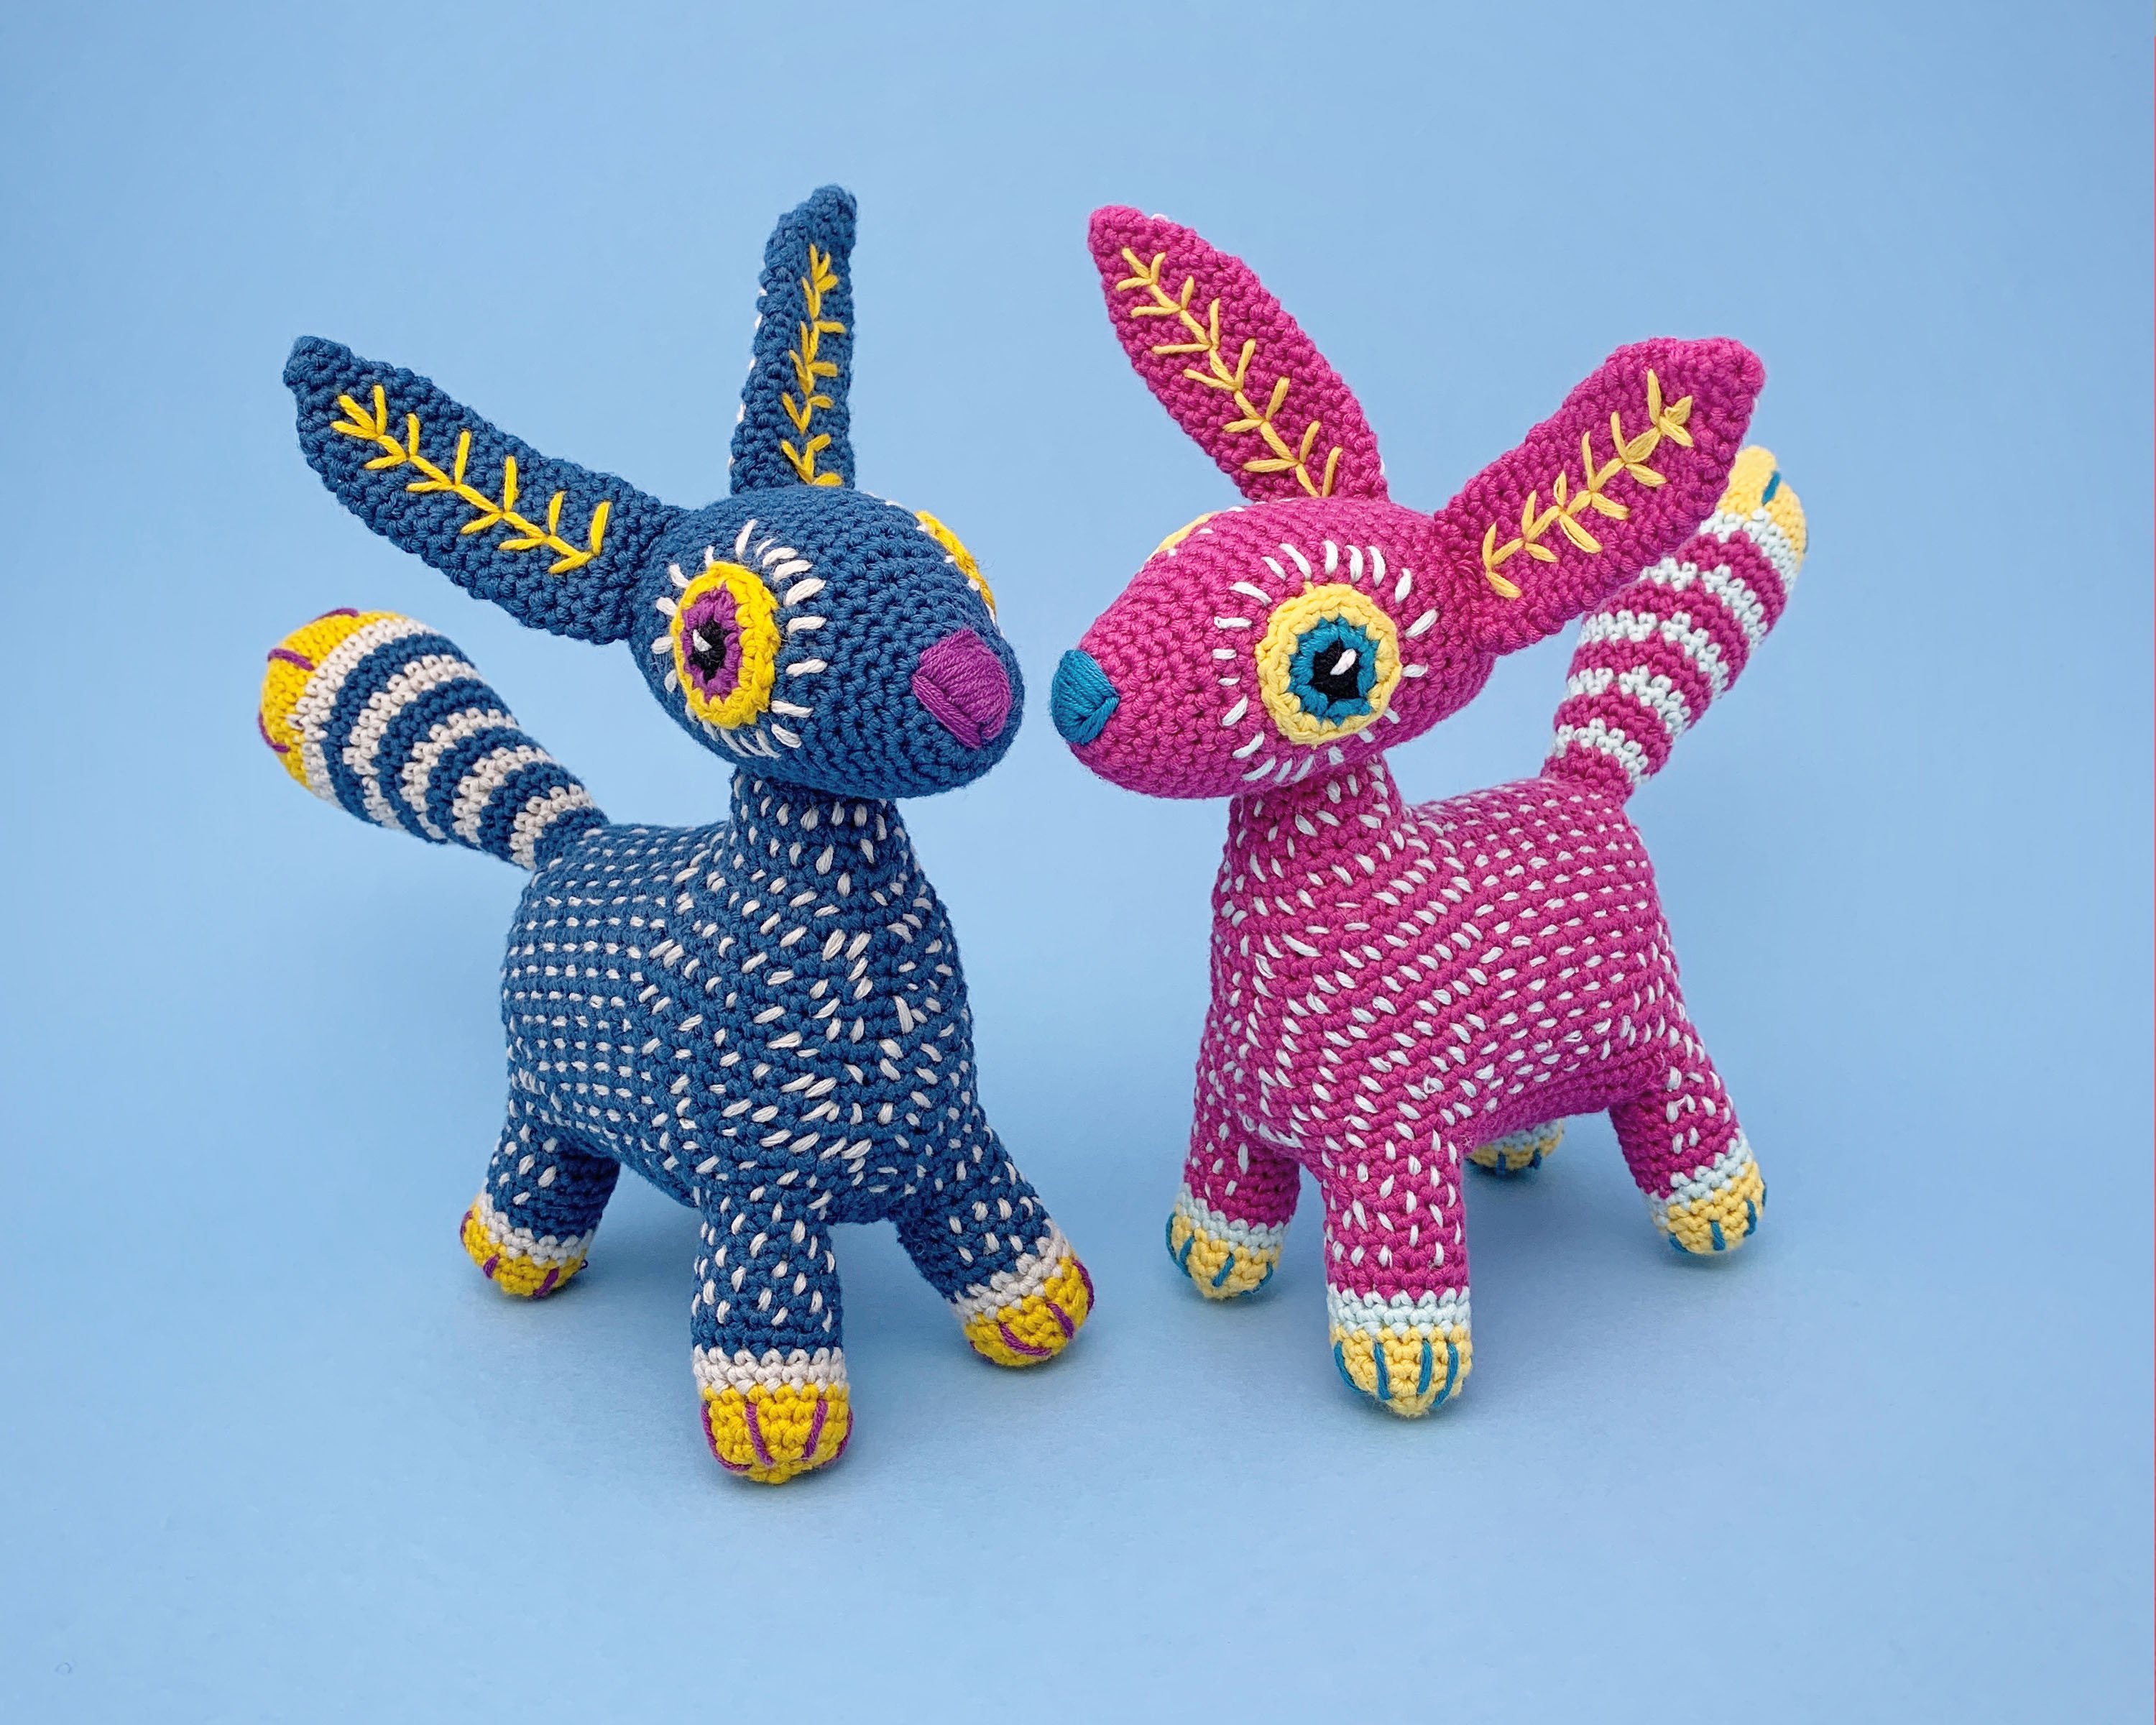
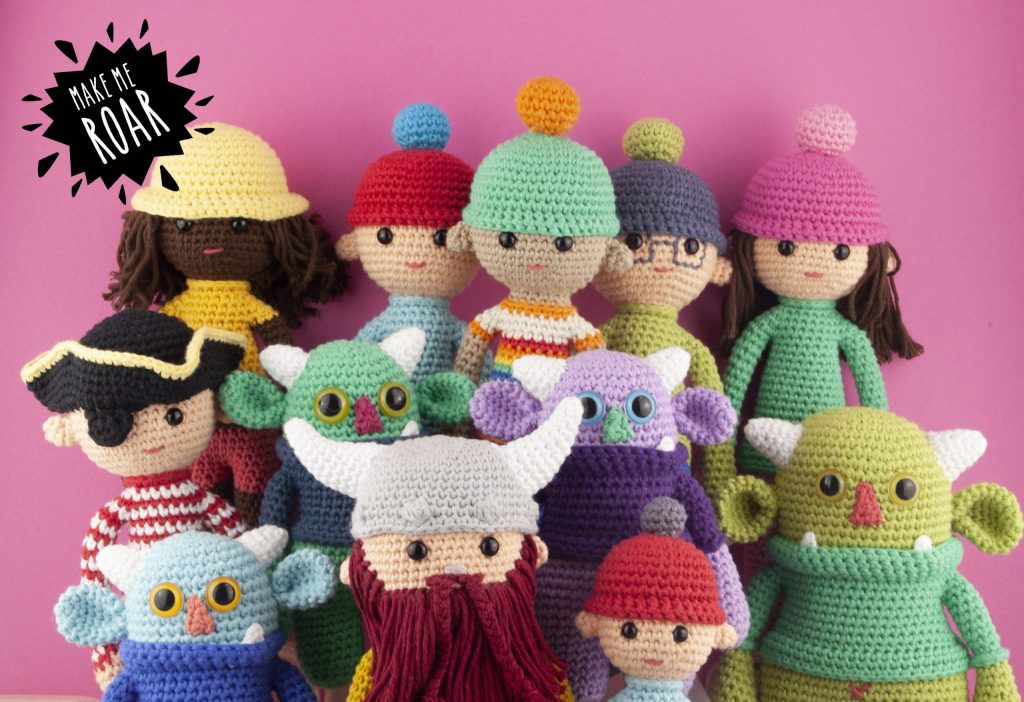
You may be a experienced crocheter, but if you have never made amigurumi before you might find you stumble over some of these common problems.
Today I’d like to share with you some of my amigurumi tips & tricks. Ever wondered how to reduce the gaps in your amigurumi, or how to count your stitches? Maybe you can’t quite get the hang of a magic ring? I see a lot of these questions asked by beginners so thought I would answer some here.
(NB: this post contains some affiliate links).
What is amigurumi?
Amigurumi is a form of crochet that originates from Japan and translates to ‘crocheted (or knitted) stuffed doll’. It is quite easy to pick up as it mostly just uses one stitch, the double crochet (known as the single crochet in the US). The stitches are worked in the round, rather than in rows.
What is working in the round?
Working in the round means just that, working around in a tube shape without turning. In amigurumi we work in a continuous spiral without joining the end of the round to the first stitch with a slip stitch. This method means there is no visible seam, but it does mean you need to use a stitch marker or scrap yarn so you know where each round starts. Armed with just a simple stitch with some increasing and decreasing (stitches) you can make all manner of shapes whether it be for a doll or animal.
What hook size should I use?
If you look on any yarn label it will usually say what size hook is recommended. But when it comes to amigurumi we generally need to use a smaller hook. This is so that the stitches are smaller and closer together to create less holes therefore keeping the stuffing inside less visible. If you are following a good pattern it will tell you what yarn to use and what size hook. If you don’t have a pattern, then go a size or two smaller than it states on the label.
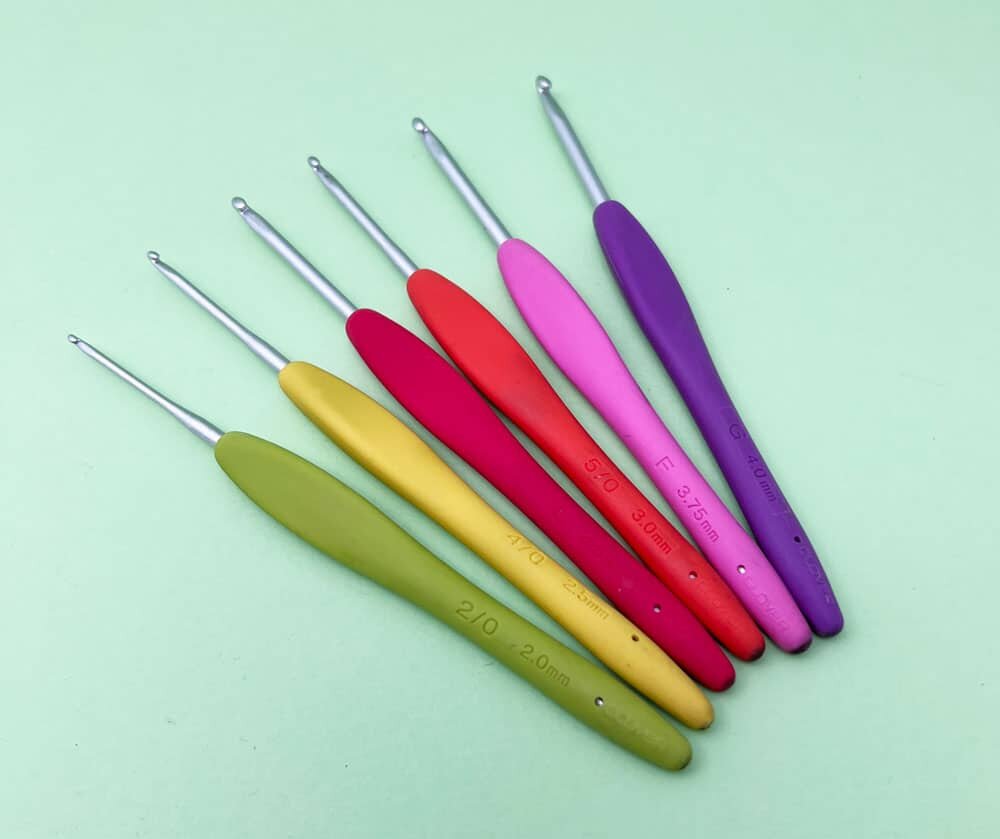

These are my favourite crochet hooks to use, Clover Amour. I normally work in cotton yarn and for a DK weight will use a 2.5mm hook. For an aran weight (worsted) then I would probably use a 3.5mm hook. For more about yarn and what is best to use for amigurumi see this article.
What is a magic ring and do i have to use it?
You will see the magic ring (also called ‘magic loop’ or ‘magic circle) used a lot in amigurumi. It is used at the start of most pieces to pull the initial stitches of the first round together tightly so there is no hole. It is a very useful technique and well worth practicing even though it can seem pretty daunting at first.
First, place the tail end over your fingers, wrap it around the back, under and up over the top again crossing it over:

Then, insert your hook under the first loop and grab the second loop and pull through:

Chain 1 to secure:

You will then crochet the first stitches into this loop, then pull gently on the tail end to bring the stitches together in a circle:

If you really can’t get the hang of it, you can chain 3, then join to the first chain with a slip stitch to create a loop, then work your first round into that loop.
Which side is the ‘right side?
In amigurumi there is considered to be a ‘right’ side and a ‘wrong’ side (although some people prefer the ‘wrong’ side of the fabric). When you begin the crochet naturally wants to be inside out, so if you don’t know to turn it the right way then your crochet item might look different. If you are crocheting on the right side then your hook will be closest to you with the other edge of your crocheted piece on the other side. The tail end should be inside the piece.


How do I know how many stitches I have?
When starting out with crochet it can be difficult to see how many stitches you have if you are not used to what the stitch construction looks like. When you look at the top of the crocheted edge you will see lots of little horizontal ‘v’s stacked together. Each one of these ‘v’s is one stitch.

When working in the round (with amigurumi) it is important to use a stitch marker (or a piece of scrap yarn) to mark the beginning of the each round, as it won’t be obvious. It is also a good idea to count each stitch at the end of each round to check you have the right number according to the pattern. The pattern you are using should state the number of stitches you will have at the end of each round.
How do I reduce the gaps in my work?
When making amigurumi decreases are used to reduce the number of stitches to created specific shapes. The main problem with this is it can create holes in the crochet, especially if there are lots of decreases in one area. There are a few ways these can be reduced.

Look at all these gaps in my first amigurumi I made! The stuffing has started to poke out over time.
- Check your tension
If you are crocheting too loosely then you will naturally have gaps and the stuffing will show through. Tension generally is not critical in amigurumi but it is important to keep it tight. - Don’t over stuff
Amigurumi’s do need to be stuffed well, but too much stuffing then it will stretch the stitches causing gaps. - Go down a hook size
If you have still have gaps then you may need to change your hook size. Try going down a hook size. - Use an invisible decrease.
As well as all the above, the best way to reduce gaps in your work is to use the ‘invisible decrease’ rather than a regular decrease. Some patterns may tell you to use this stitch. If it doesn’t, then you can replace the decreases with this invisible one instead:
Insert hook into the front loop only of the stitch, insert hook into the front loop only of next stitch, yarn over and pull through 2 loops on hook, yarn over and draw through remaining 2 loops.
What is the difference between a UK & US pattern?
The only real different is the name of the stitches. It gets confusing as the names are the same or very similar for different stitches. In amigurumi the main stitch we use is the ‘double crochet’ known as the ‘single crochet’ in the US. If you have an amigirumi pattern and you are not sure which terms it is written in then look at the stitches. If you see ‘single ‘crochet’ or ‘sc’ then its’ a US patterns. If you see mostly ‘double crochet’ or ‘dc’ then it’s a UK pattern. That only works for amigurumi though, as the they usually just use that one stitch.
Here’s a handy table to help you convert the terms.

All Make Me Roar patterns are written in UK and US terms.
How do I change colour?
Changing colour in amigurumi can be challenging, especially if you want to create a seamless look. When working in a spiral, colour changes have a noticeable ‘step’. The neatest way to change colour is to do it in the last stitch of the round you have just completed (unless otherwise stated):
Start a double (single) crochet as normal, but for the last part of the stitch (yarn over and draw through 2 loops), yarn over with the new colour ready to start the next round. Cut the yarn off of the old colour and tie the 2 ends of each colour to secure. Ends will be hidden inside the piece, so there’s no need to weave them in.
If you want a less noticeable colour change then when you start the first stitch with the new colour, rather than a double (single) crochet, make the first stitch a slip stitch instead. This stitch counts as the first stitch. Carry on the round and subsequent rounds as normal. Although this doesn’t completely eliminate the step it will be less noticeable.

Regular colour change

Colour change with Slip Stitch
I have a pattern but how can I make it bigger?
Have you found the perfect pattern but in the wrong size? The easiest way to do this is to go for a thicker / chunkier yarn. The chunkier the yarn you use the bigger it will be. Don’t forget to increase your hook size too though.
I hope this has answered some of your amigurumi beginner questions. Drop a comment below if there is anything else you would like me to explain.
Happy crocheting