Make Me Roar presents – Zombiegurumi
The design process
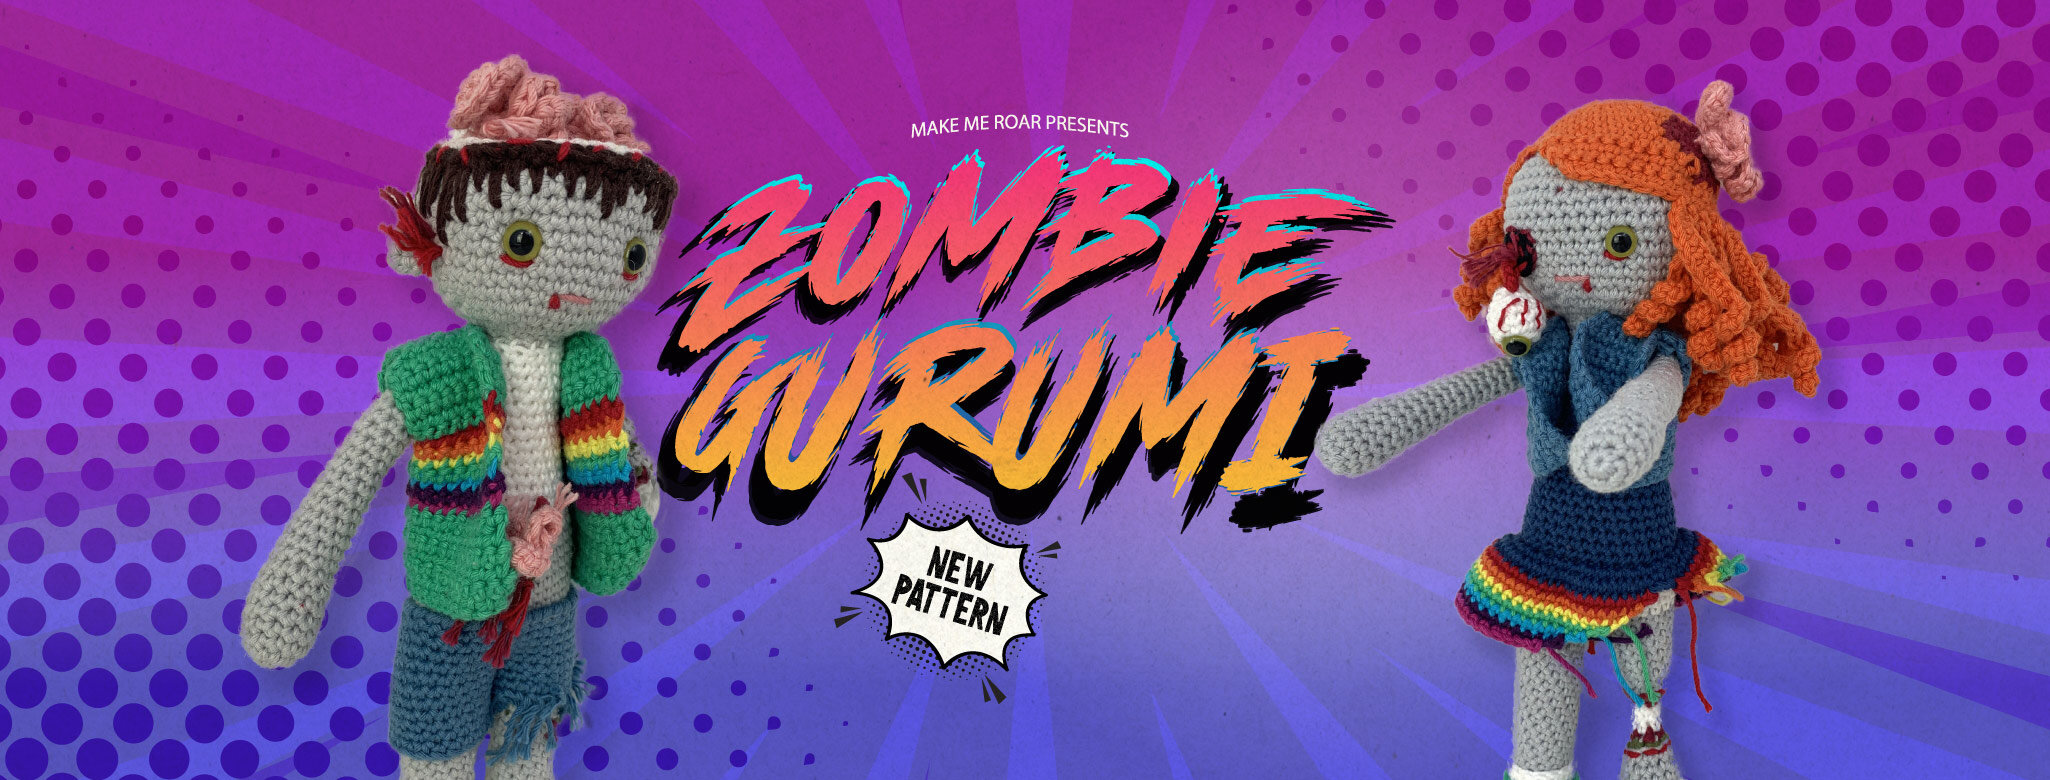
WARNING: This blog is not for the feint hearted, there is mention of ‘guts spilling out’, ‘rotting flesh’ and pictures of yarn made to look gruesome. I like to call it ‘Zombiegurumi’ (amigurumi zombie dolls).
I’m so excited to share this new pattern with you, I had so much fun creating and designing it. I see a lot of people asking how the design process works and how to make an idea reality, so I thought I’d share with you my process for these two zombies.
(NB: This post contains some affiliate links)
The Idea
My inspiration comes from all sorts of different places, a forest walk or maybe a toy my children are playing with. Sometimes I do some I do research on popular types of patterns. I found out that cute friendly animals always goes down well, so that was my starting point. How I then ended up creating a zombie with spilled guts, brains and gore is anybody guess. Hey-ho, Halloween is coming up so I had to make it.
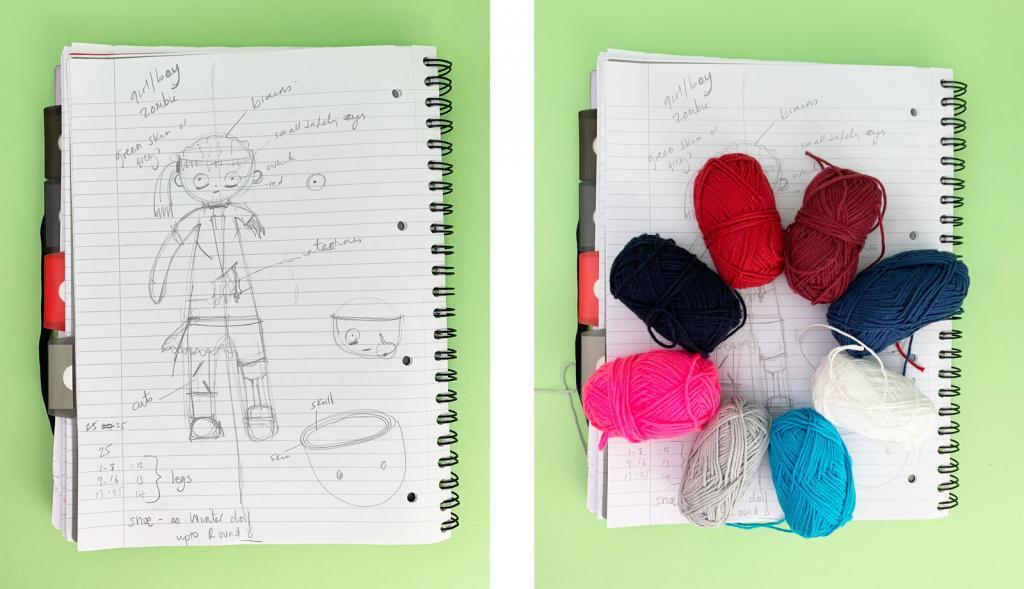
I then turn my idea into a sketch. I might take a look at the sort of thing that is out there already, first to check i’m not going to be creating something similar and secondly to design something better! Getting as many elements into the sketch at the beginning so I have as much information I need when I go onto crochet helps a lot.
Choosing the Colours
For the next stage I look at the colours. I think choosing colours is one of the most important stages. You can have an amazingly designed piece of work but if the colours are wrong it won’t look great. I am all about bright colours but zombies are rather grey and gruesome so I have added the bright colours in with their clothing. I love the contrast between all the gore and guts alongside the cheery rainbow hues. I have used Ricorumi yarn for these zombies.
Start designing
Next I start crocheting and I always start with the arms. The reason for this is that all my dolls are crocheted in one piece (no sewing on limbs which is a big bonus in my book). I then start at the feet and work my way up, joining the arms as I go (so they need to be ready).
I already had a pattern for the body shape so the first unknown was going to be the guts spilling out. I had recently crocheted some curly hair so I thought if I made that in pink it would look like guts and probably would work for the brains too. It did luckily.
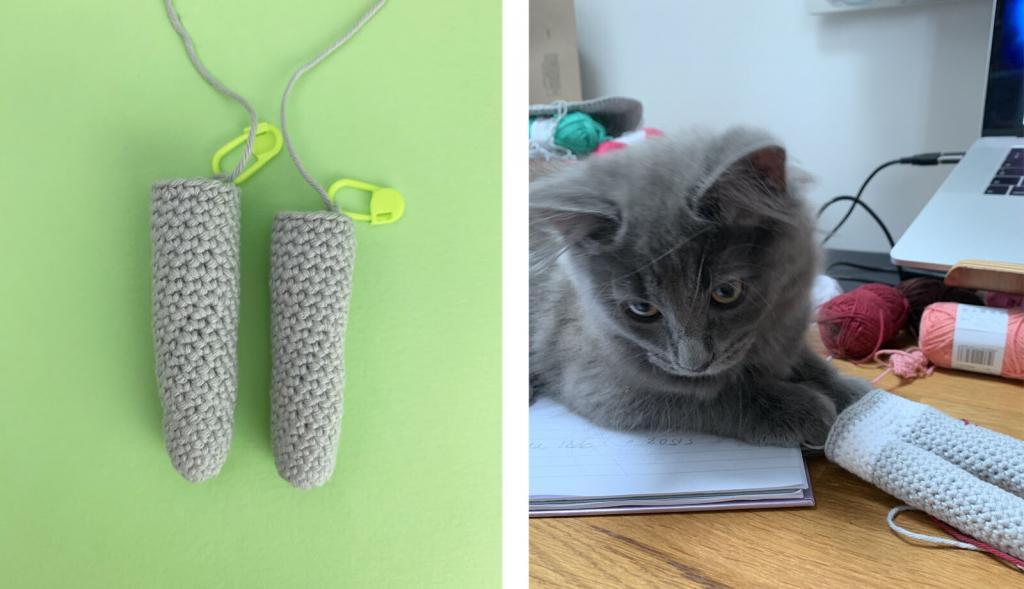
Because I had already designed the base pattern, it was actually pretty plain sailing apart from when I crocheted 2 different sized legs, whoops! It was all in the tension – I seem to have different tension from morning to afternoon for some reason (maybe the kittens proximity has something to do with it). The shoes were a new addition for me, I experimented with different coloured socks and shoes until I got the right look. A completely non-planned but totally awesome result of making shoes for my zombie was that, when finished, it actually stands up on it’s own. No need for fiddly bits of wire to try and balance the dolls when taking the finished photographs.
Keep checking
As I go I keep laying my work over my sketch to see if it matches with the shape and size. I always draw my sketch actual size so that I can do this. The piece must be stuffed as you do this as it won’t work otherwise. You can see I’ve done it here too with the axe. I have layed the doll down onto the paper and drawn the shape of the axe so it will be the right size in comparison to the doll.
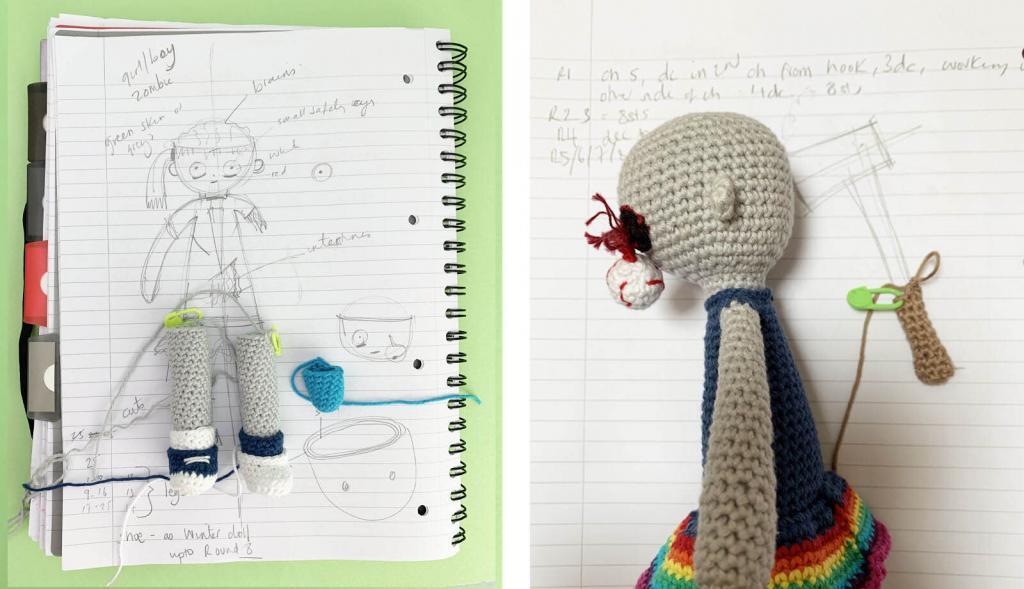
I wasn’t quite sure how I was going to do the eyes. My first thought was to crochet a white circle to then put a black safety eye in, but then I found the two tone safety eyes in my stash and it bought the whole look together. If you only have black safety eyes you could use some acrylic paint to paint the green around the edge.
Make a note of everything
As I crochet I write each round down in my notebook. I have learnt the hard way to put as much detail into my notes as possible and not rely on my future self to understand exactly what I was on about. Oh, I have also learned to invest in a big notebook and to never ever write parts of the pattern down on random scraps of paper to hand (especially while not labelling what the project the pattern notes are for).
Type up the pattern
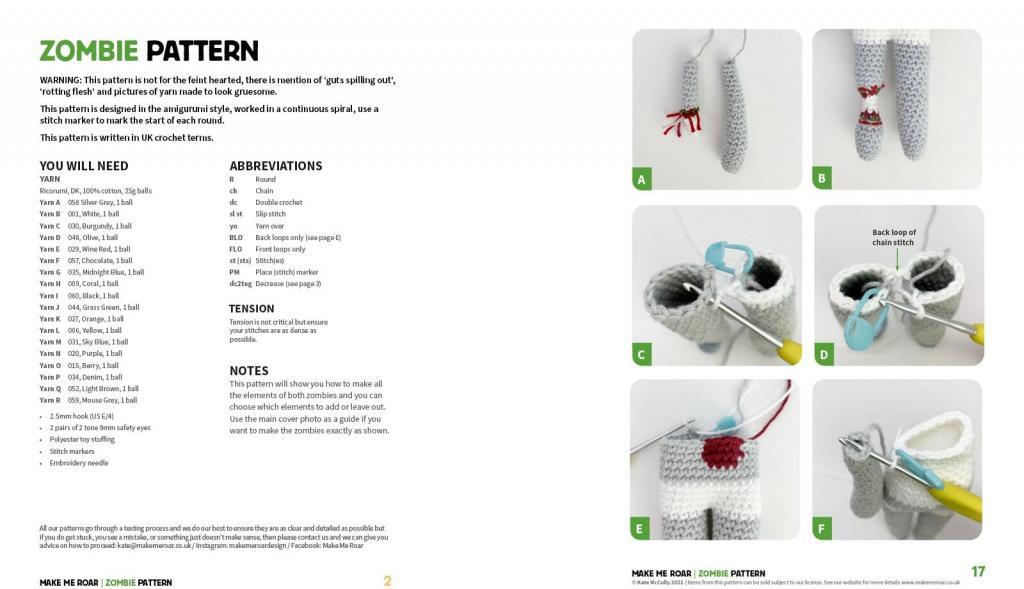
The next stage is to type up the pattern and work out which photos I need for the step by step tutorial. I then make a second doll to take these photographs. I find taking them when designing the first one spoils my flow having to keep stopping, but also because as I haven’t finalised the design yet I may need to frog a lot of work and those photos may be obsolete.
Pattern testing
With the pattern typed, photographs taken and adjusted, it’s ready for my testers. I have a few amazing testers to hand but I also like to get a couple more on board for a fresh pair of eyes and different opinions on the pattern. They get a deadline and once all the feedback is back in I amend all the typos and mistakes and then create two versions – one in UK and one in US crochet terms. Then it’s time to upload everything to my website and other online selling platforms (Etsy for example).
Finished dolls and pattern
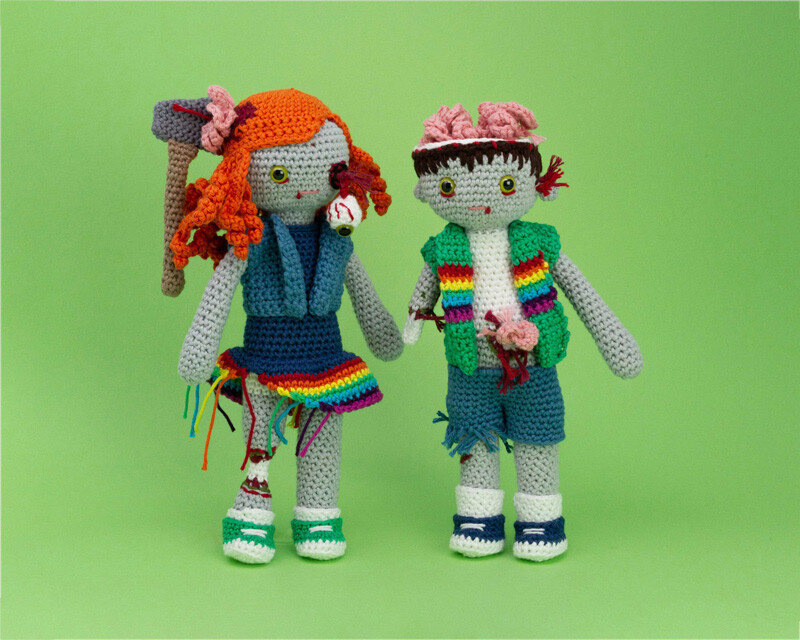
So here are the finished zombie dolls, I’ve named them Chad a Chrystal because I envisage them in an 80’s American zombie movie. I’ve designed the pattern so that you can make the dolls exactly as shown here, or you can mix and match body parts to create your own zombie.
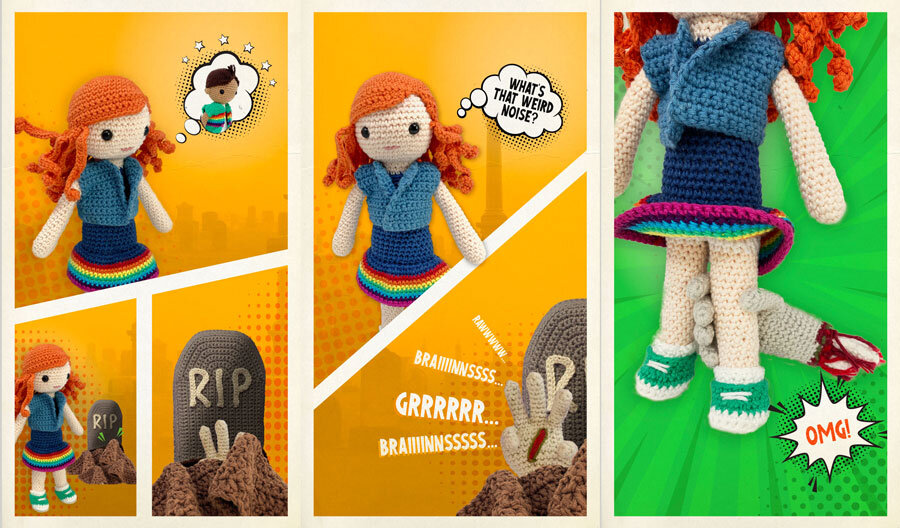
My husband and I had fun creating a story explaining how Chad and Chrystal became zombies and we created a whole comic strip which we shared over social media. Here is an exert, if you want to view the whole story head over to my Instagram page and check it out in the highlights.
I hope some of this has helped you if you are looking into designing your own pattern. Is there any process you’d like me to go into greater with, for example, taking the photographs, or uploading a listing to Etsy, let me know and I can put it on a list for future blog posts.
