Spike stitch baskets
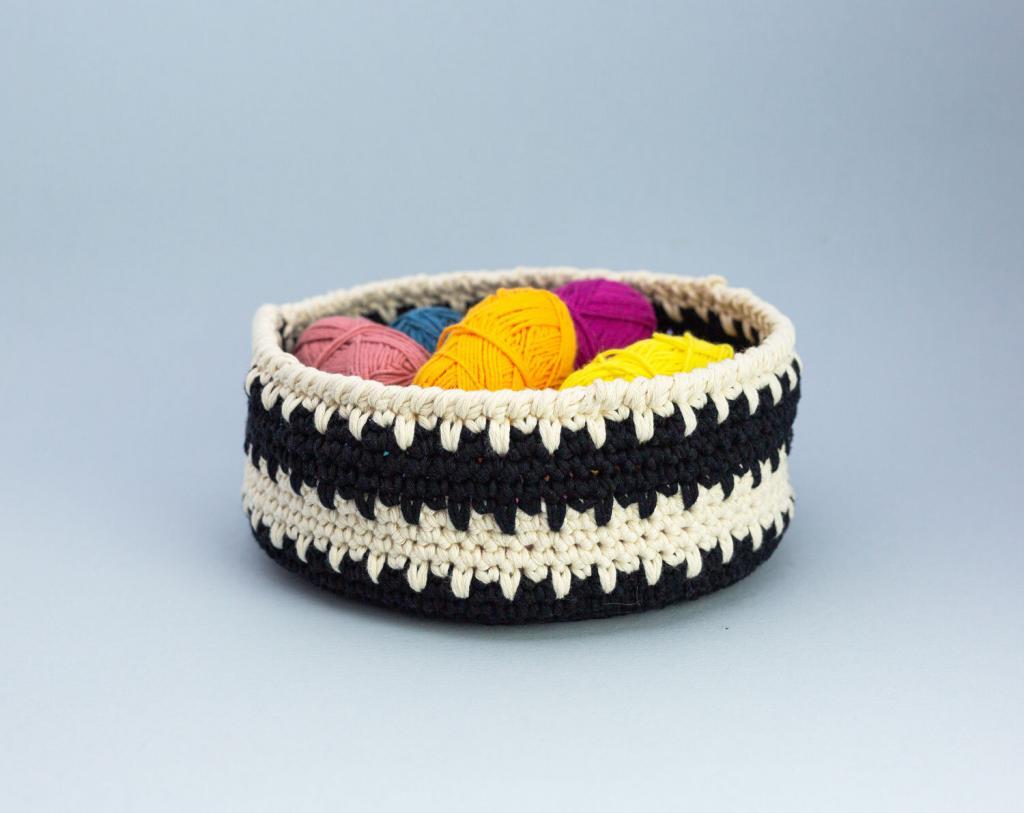
When I started out designing patterns I was naturally drawn to amigurumi. I was making toys for my children and thought I’d have a go. I love designing the 3D shapes and seeing the characters come to life. But the thing about amigurumi is you only really use one crochet stitch, the double (or US single) crochet. Apparently there are over 150 different crochet stitch patterns and I would love to step out of my comfort zone and learn some new stitches, so I’ve been exploring the spike stitch on a range of baskets and pots.
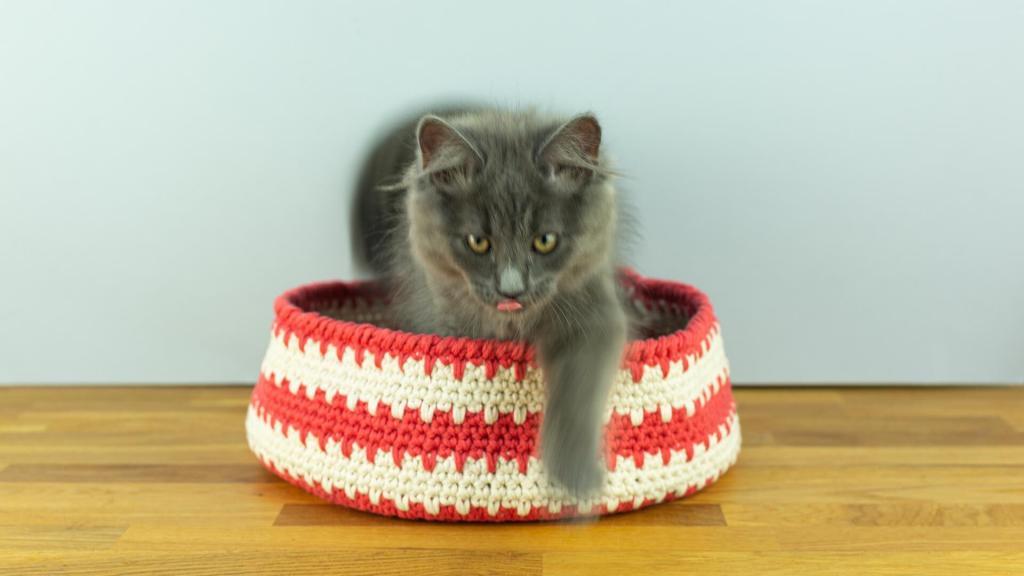
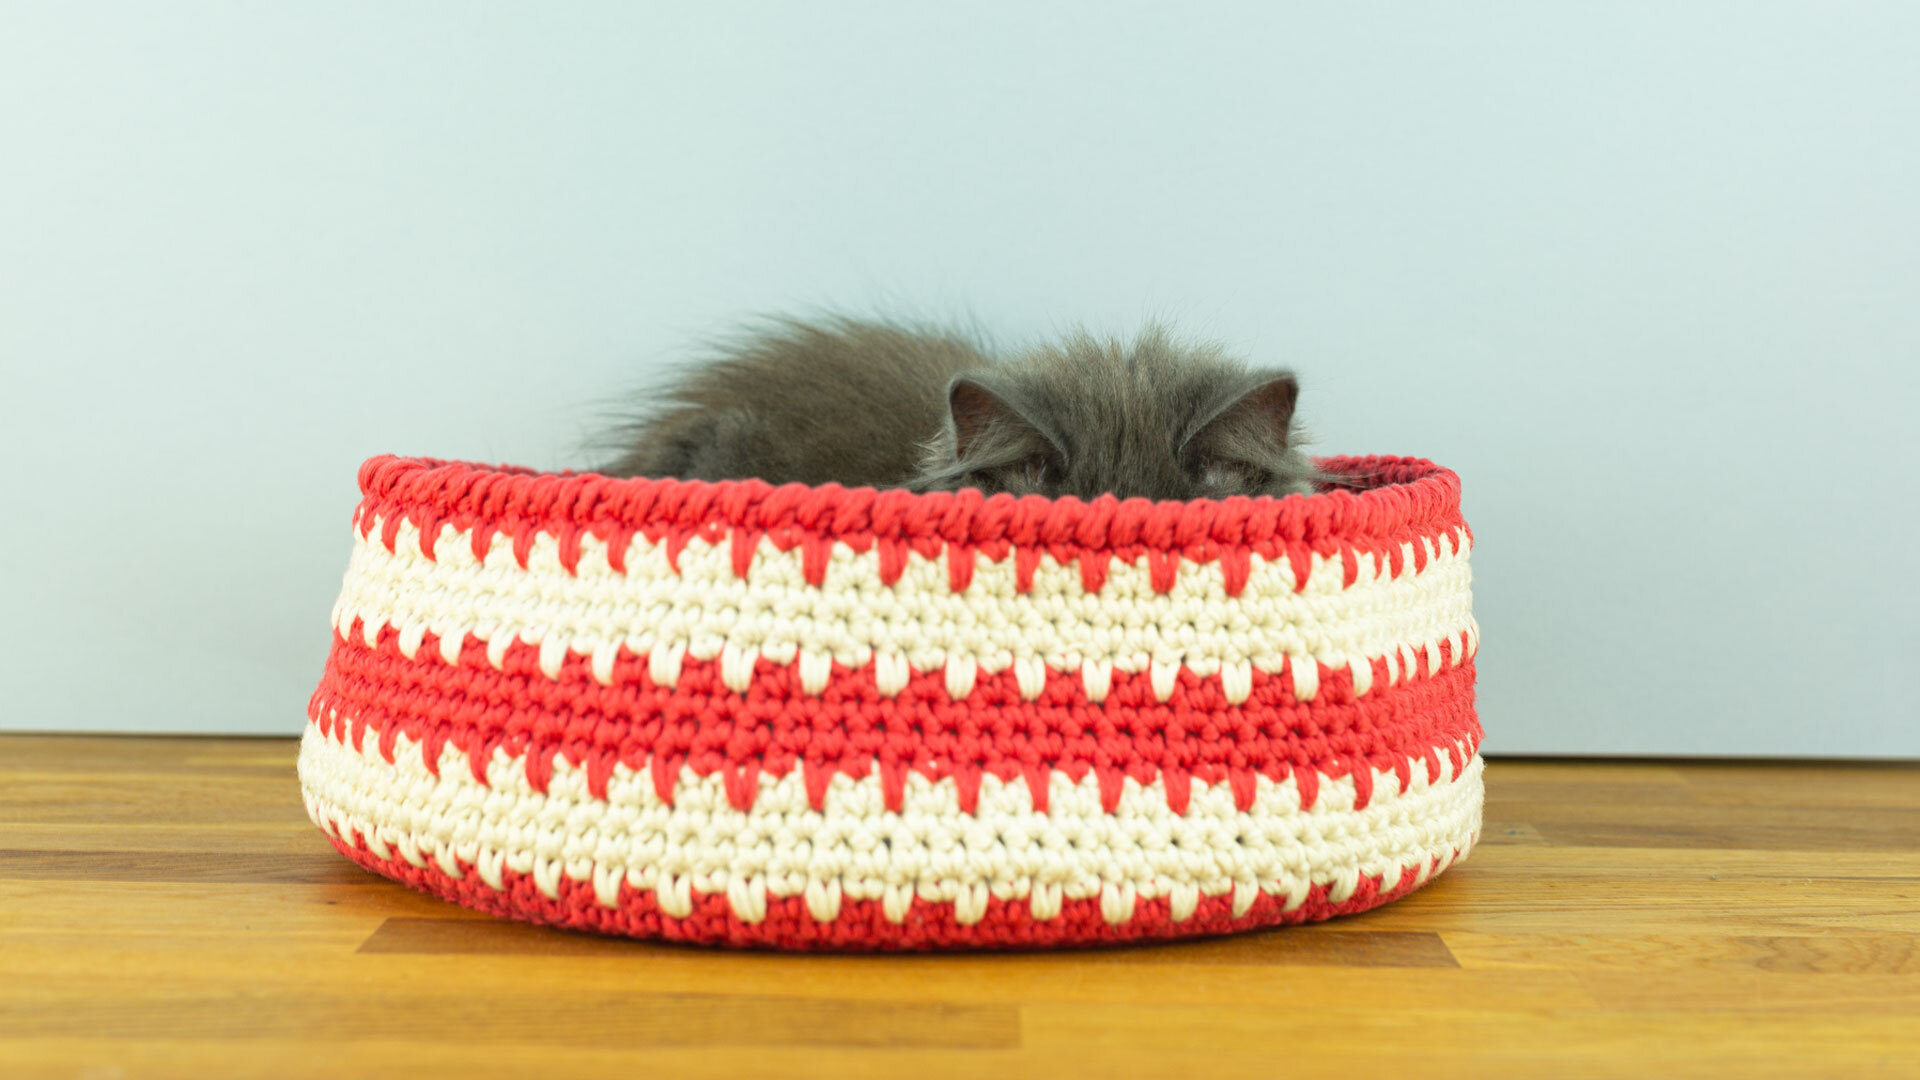
Last March we adopted a little grey fluff ball of a kitten. He will pretty much sleep anywhere but his favourite is a green basket I keep some crochet projects in (I obviously took the project out!) The problem is he has outgrown it pretty quickly (despite still trying squeezing himself into it), so I thought I’d crochet him a bigger one. So, here it is; ‘the cat basket’ as I call it. I used a spike stitch to create some simple detail rather than just plain coloured bands. This was so easy to make but so effective. Can you see all the little cats running around the side (totally co-incidental).
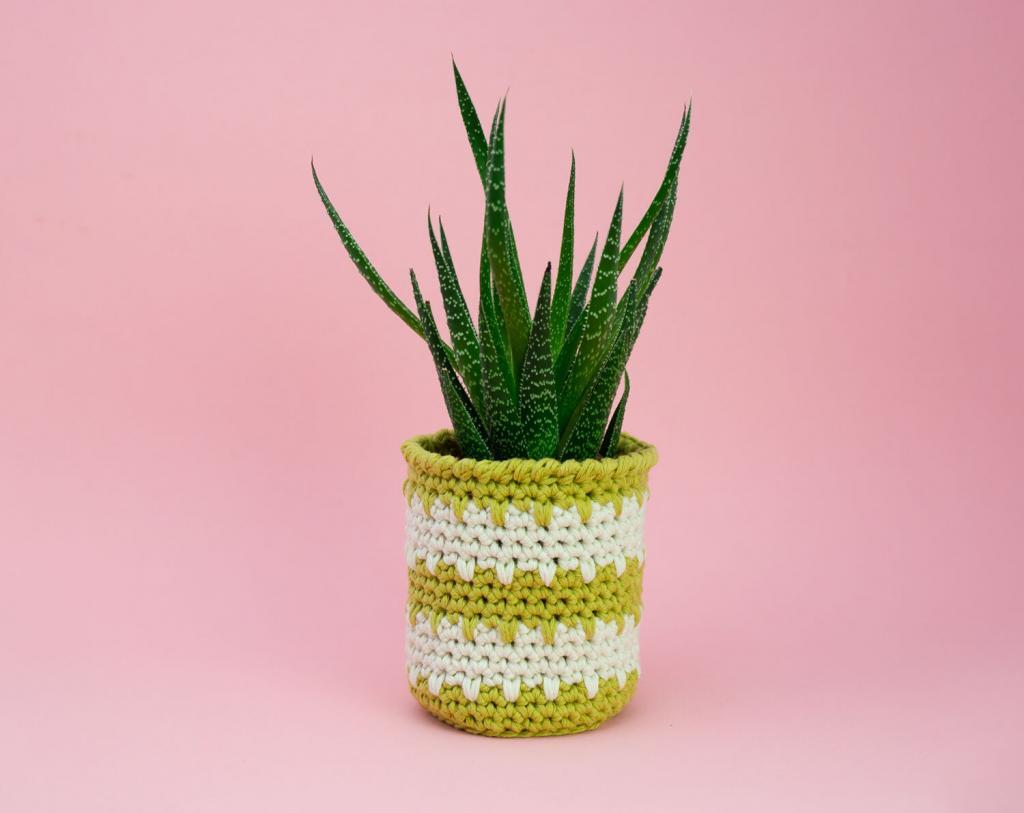
I didn’t have any chunky yarn so I doubled up on some Paris Drops cotton aran yarn instead. You can use any chunky or super chunky yarn but make sure it’s cotton to create the same look and feel of these baskets. Below is the pattern for the ‘cat’ basket, but the pattern is so versatile and you can use it to make plant holders, pen pots, peg bags, water bottle holders and any sized basket you like (examples on how to adapt the pattern for some of these items are below the main pattern).
I’ve used Dark Grey (24) for the base. The sides of the basket are Raspberry (38) & Off White (17). The cream really works well against the bright colour and have use it as a theme across all the makes below which creates a cohesive set.
(NB: This post contains a cripple of affiliate links).
UK Crochet terms
You will need
- Paris drops 100% cotton, (aran), 50g, doubled up: Dark grey (3 balls), Raspberry (2 balls), Off White (2 balls)
- 6mm (US J) hook
- Embroidery needle
Tension not critical for this project.
Finished size: 29cm diameter & 12cm tall
The pattern is worked using the amigurumi method. Work stitches continuously in a spiral without closing off each round with a slip stitch. It may help to use a stitch marker in the first stitch of each round, moving it up as you work.
Abbreviations
ch Chain
dc Double crochet
st (sts) Stitch(es)
BLO Back loops only
Special stitches
Spike Stitch
The spike stitch is exactly the same as a double (US single) crochet, except you insert your hook into one or more rows below to the one you are working on. When you yarn over and pull through, make sure to pull it up to the height of the row you are working on. The pattern on this basket is created by alternating between a double (US single) crochet and a spike stitch one row below.
Reverse double (US single) crochet
To give to top edge of the basket some rigidity the last row is worked in reverse double (US single) crochet. Start the row with a ch1, then insert the hook into the st immediately to the right (if you are right handed) or left (if you are left handed), then complete the st as normal. It will create a nice twisted edge.
Changing colour
Where it states to change colour, do it in the last stitch of the round you have just completed (unless otherwise stated). Start a dc as normal, but for the last part of the stitch (yo and draw through 2 loops), yo with the new colour ready to start the next round.
If you head over to my Instagram page I have posted videos on how to do the spike stitch and reverse double crochet stitch.
Cat Basket

Using Dark Grey, make a magic loop.
Round 1 6dc into the loop. [6 sts]
Round 2 2dc in each st around. [12 sts]
Round 3 (2dc in next st, 1dc) 6 times. [18 sts]
Round 4 (2dc in next st, 2dc) 6 times. [24 sts]
Round 5 (2dc in next st, 3dc) 6 times. [30 sts]
Round 6 (2dc in next st, 4dc) 6 times. [36 sts]
Round 7 (2dc in next st, 5dc) 6 times. [42 sts]
Round 8 (2dc in next st, 6dc) 6 times. [48 sts]
Round 9 (2dc in next st, 7dc) 6 times. [54 sts]
Round 10 (2dc in next st, 8dc) 6 times. 60 sts]
Round 11 (2dc in next st, 9dc) 6 times. [66 sts]
Round 12 (2dc in next st, 10dc) 6 times. [72 sts]
Round 13 (2dc in next st, 11dc) 6 times. [78 sts]
Round 14 (2dc in next st, 12dc) 6 times. [84 sts]
Round 15 (2dc in next st, 13dc) 6 times. [90 sts]
Round 16 (2dc in next st, 14dc) 6 times. [96 sts]
Round 17 (2dc in next st, 15dc) 6 times. [102 sts]
Round 18 (2dc in next st, 16dc) 6 times. [108 sts]
Round 19 (2dc in next st, 17dc) 6 times. [114 sts]
Change to Raspberry
Round 20 (2dc in next st, 18dc) 6 times. [120 sts]
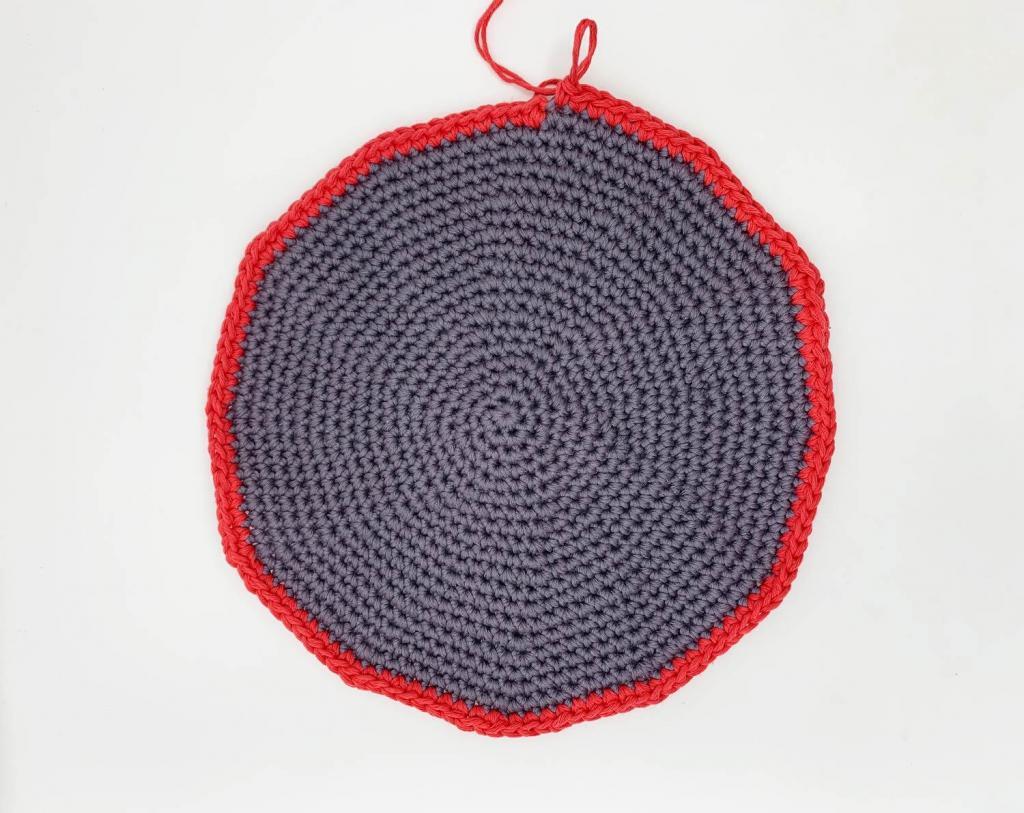
Round 21 In BLO dc around.
Round 22-23 Dc around.
Change to Off White.
Round 24 *dc, spike st* repeat around.
Round 25-27 Dc around.
Change to Raspberry.
Round 28 *dc, spike st* repeat around.
Round 29-31 Dc around.
Change to Off White.
Round 32 *dc, spike st* repeat around.
Round 33-35 Dc around.
Change to Raspberry.
Round 36 *dc, spike st* repeat around.
Round 37 Ch1, work reverse dc’s around, sl st into the first dc to join.
And there you have one (cat) basket finished. I just need to wait for the kitten to completely outgrow his favourite basket! You can use this pattern to make any size of basket you like, just work up the initial base until you reach the size you want. Below are variations on this pattern, some smaller items use one strand of Paris drops yarn.
Small monochrome basket

Finished size: 19cm diameter & 10cm tall
I love this monochrome look, I think a series of baskets in different sizes in monochrome would looks really smart. This basket is worked in the same way as the pattern above with the initial base made up to 13 rounds (78sts).
Plant holder

Finished size: 9cm diameter & 12cm tall
Again, worked in the same way using Pistachio (39) with the base worked up to 6 rounds (36sts). You can make as big and tall as you require for your plant pot.
Pen pot
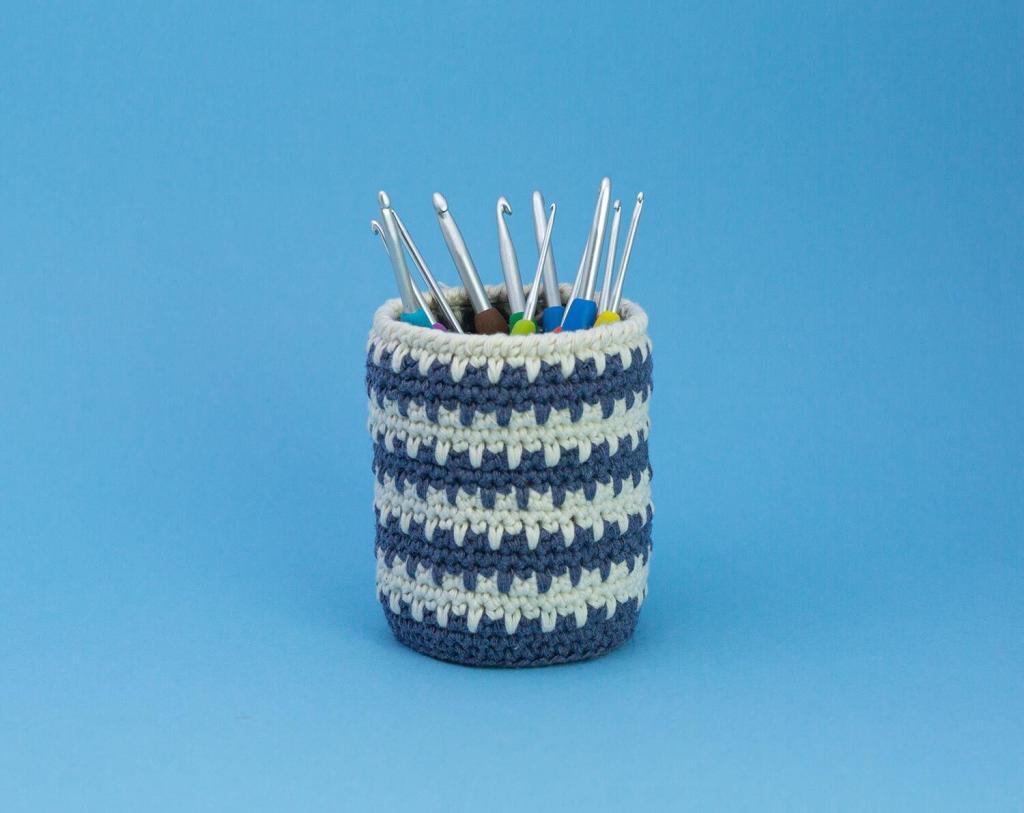
Finished size: 7.5cm diameter & 10.5cm tall
When I made the plant holder I thought the smaller size item would benefit using a thinner yarn to make it look more refined. Here I used a single strand of Paris Drops and a 3.5mm hook and made the base up to 8 rounds (48sts). Each colour band around the sides is 3 rounds tall (rather than 4 rounds). Slide a jam jar inside to keep it rigid.
Water bottle holder
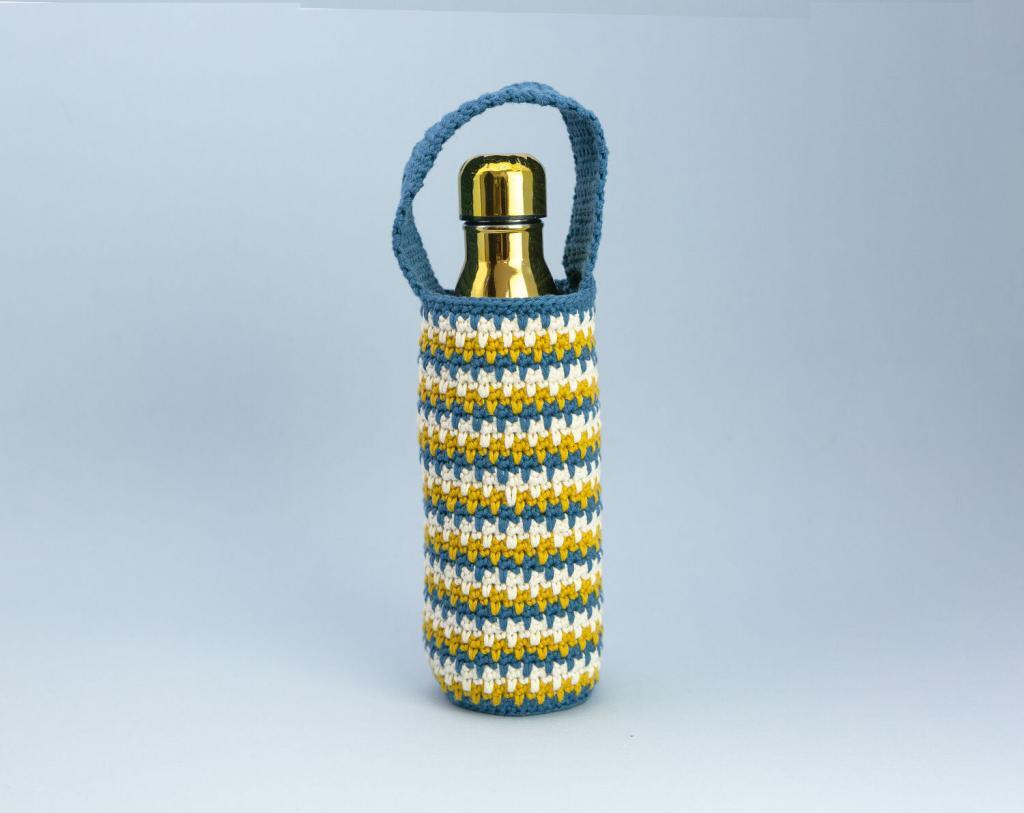
Finished size: 7.5cm diameter & 20cm tall
Here, like the pen pot, I’ve used one strand of Paris Drops. I’ve used 3 colours here too with only 2 rounds for each band. Make it tall enough to fit your water bottle. To create a handle:
When you have finished the last round, *ch1, turn, 8dc* (or however wide you want the handle. Repeat from * until your handle is long enough. Fasten off and sew the end to the other side of the holder.
I have so many more ideas for using this stitch; peg basket, a small project bag or even a foot stool (make another base and stuff). But not only that, if you were to use the spike stitch to crochet into the next row below, or the row below that you can create other patterns.

